In this article, we will detail how to order hosting and install the CMS WordPress, without having knowledge in administration and programming. We'll show that creating a website from scratch is not so difficult and is accessible to literally everyone. The guide to installing CMS WordPress will be accompanied by screenshots and a detailed description of each stage, and at the end, there will be a short video, for those who do not want to read.
We chose WordPress as an example, but you can choose any other CMS from a hundred ready-made ones. All of them are downloaded from official repositories and have the latest versions. With this guide, we'll lead you to a finished website that will be accessible via a third-level domain. The third-level domain is free. So, let's get started.
How to Order Hosting
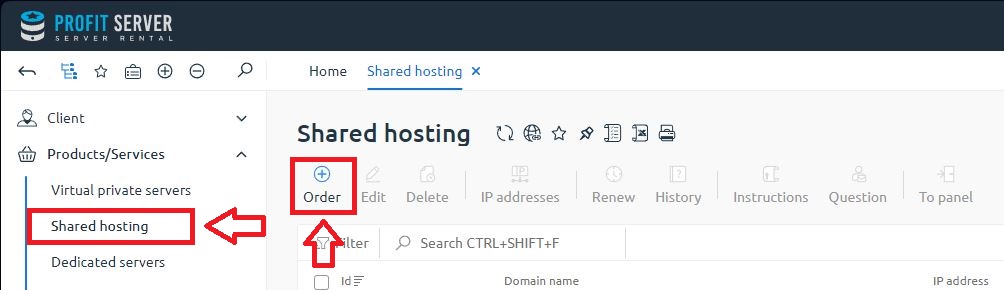
1. After registering in the billing and logging in, you will enter your account. Here you can manage services: create, renew, or delete. We need to go to the Shared Hosting tab, which is located in the left panel, and click "Order":
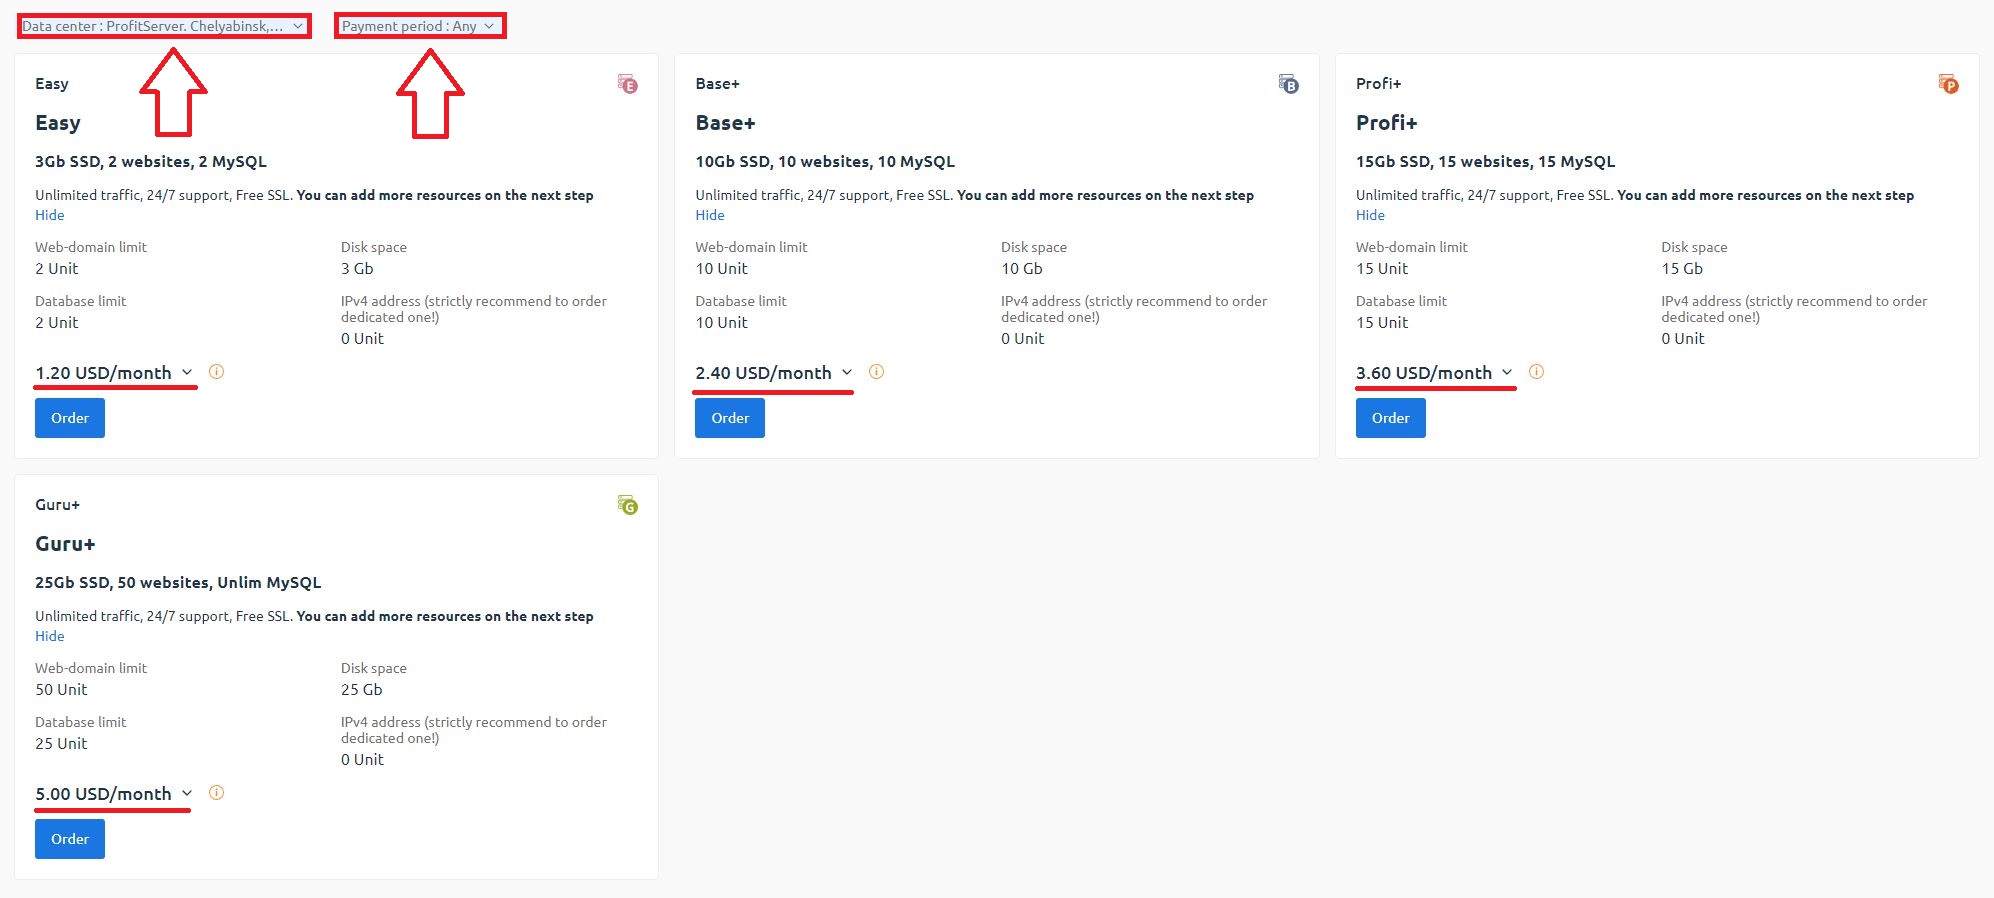
After that, you need to choose the required tariff and the period for which you want to order hosting:
2. In the next step, you need to specify whether there will be auto-renewal. Auto-renewal means that hosting will be automatically renewed if you have the necessary amount on your account. This option can be disabled, but then you'll have to control the payment manually. Also, here you can specify the domain name if you already have one. You can leave the field empty. In that case, you can add the domain to the hosting at any time later. We have instructions on how to attach a domain purchased from another registrar to our hosting.
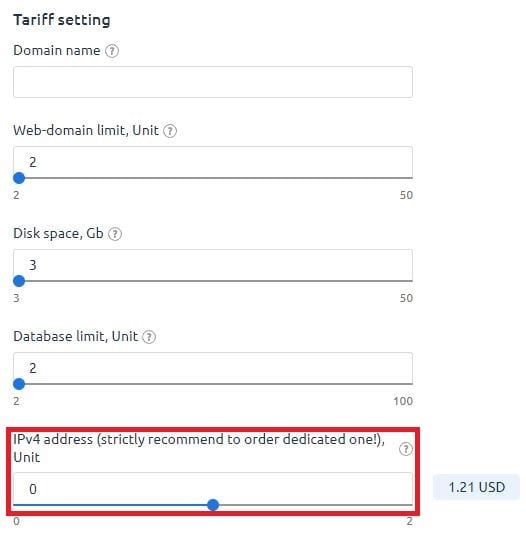
You can add a dedicated IP address so your site or sites are on a separate IP, independent of all other users' sites. The thing is, shared hosting implies some shared resources, such as IP addresses. We offer several addresses for shared hosting but cannot guarantee that your hosting neighbors won't use these addresses for actions that may negatively affect the reputation of the IP.
When you take a dedicated address, you get a completely clean IP without "history" and can calmly develop your projects on it. Moreover, for search engines, the IP history is one of the important ranking factors. So, building a serious project on shared IP addresses will be difficult.
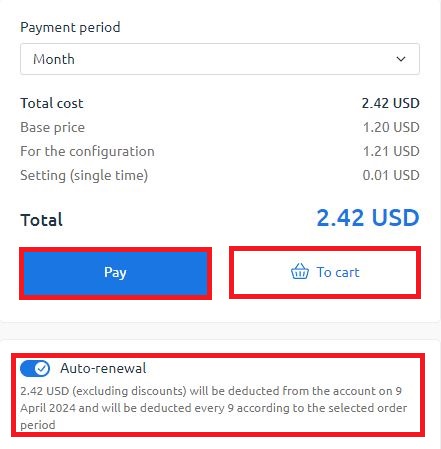
So, we've chosen the Auto-renewal option, decided on the IP. Next, we press Add to Cart or immediately proceed to payment by clicking Pay.
Payment for Hosting
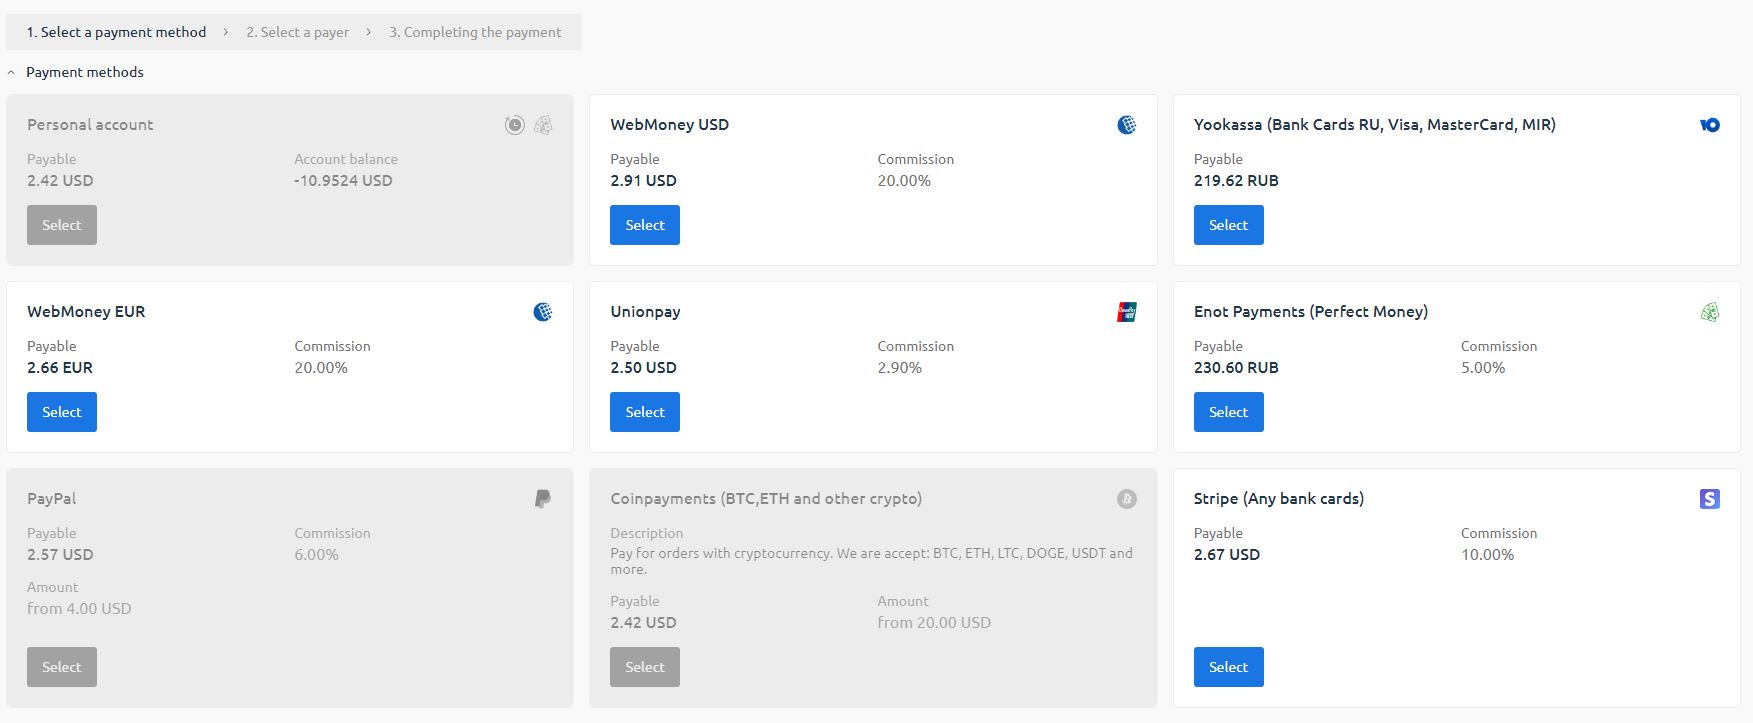
3. In the next step, you need to pay for the hosting service. Click the Select button on the necessary payment system:
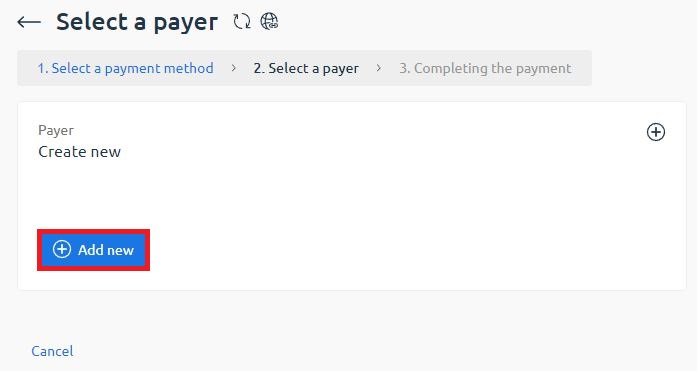
4. In the next window, when paying for the first time, you need to add a payer:
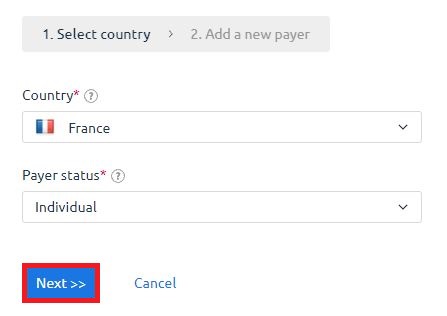
5. Choose the country and status of the payer, press the Next button:
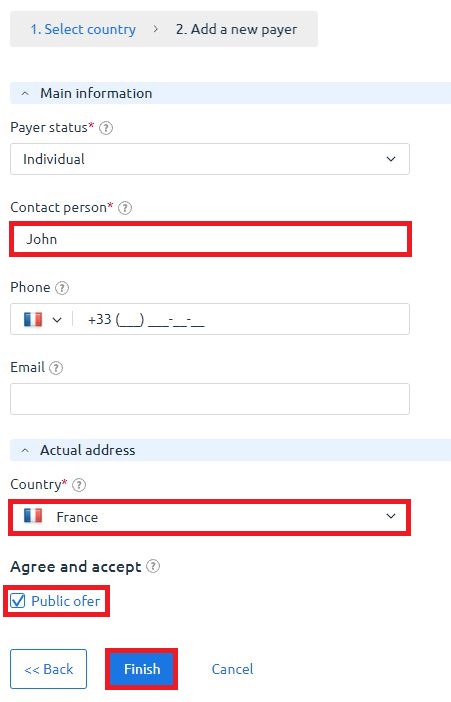
6. You should specify a contact person and agree to the Contract:
7. In the next step, confirm the payment by clicking the Place Order button:

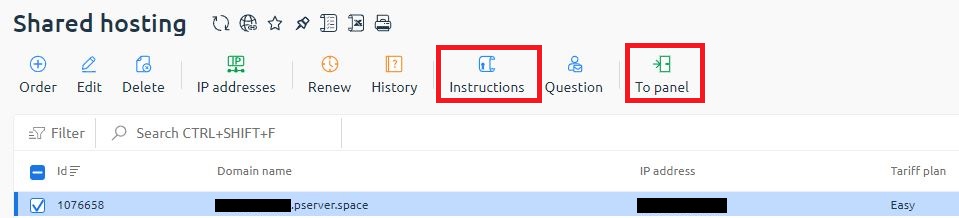
8. Right after the payment, the service will be created. In your account, in the Shared Hosting section, an active service will appear. Here you can manage this service, delete, add IP addresses, and renew. Pay attention to the Instructions section. This letter with access to the control panel and FTP access. The same letter was automatically sent to your email. Keep the accesses in a safe place.
Moreover, you can always access the hosting panel from the account in billing. For this, select the service and then click the "Go panel" button in the top row:
Hosting Control Panel. What Is It?
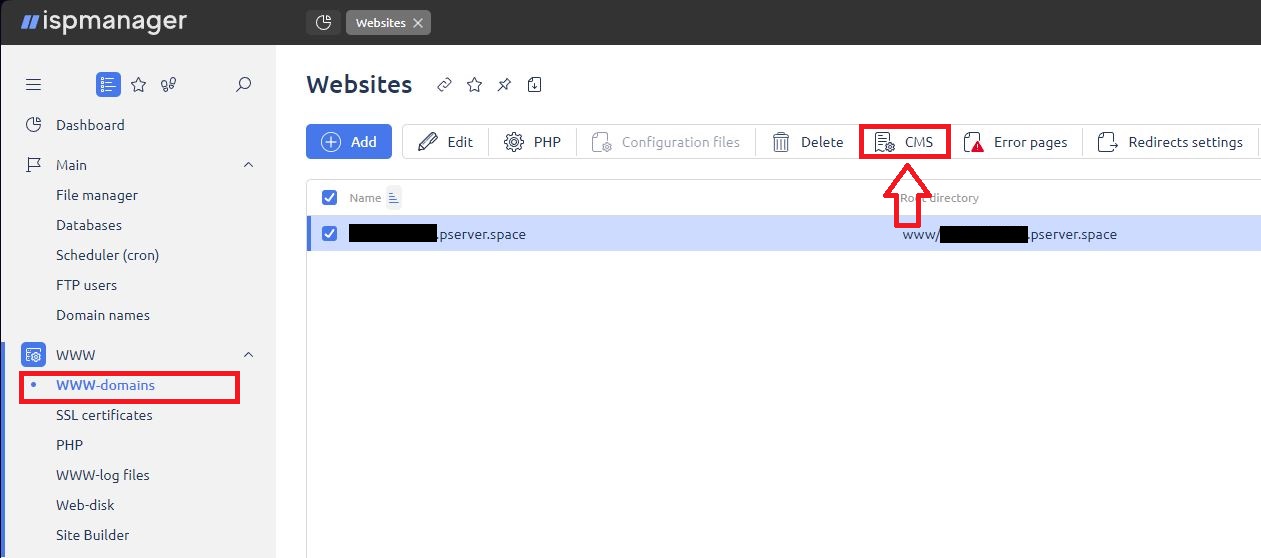
9. So, we are in the hosting control panel. It is a standalone service, with a separate address and separate access, which allows you to fully manage hosting services. For further work with the site, access to this panel is sufficient. At this stage, CMS needs to be installed on the hosting. For this, go to the WWW-domains section, which is located in the left panel.
Next, you need to choose a specific hosting, but since we only have one, click on it, and then press the "CMS" button in the top row:
Quick Installation of CMS WordPress on Hosting
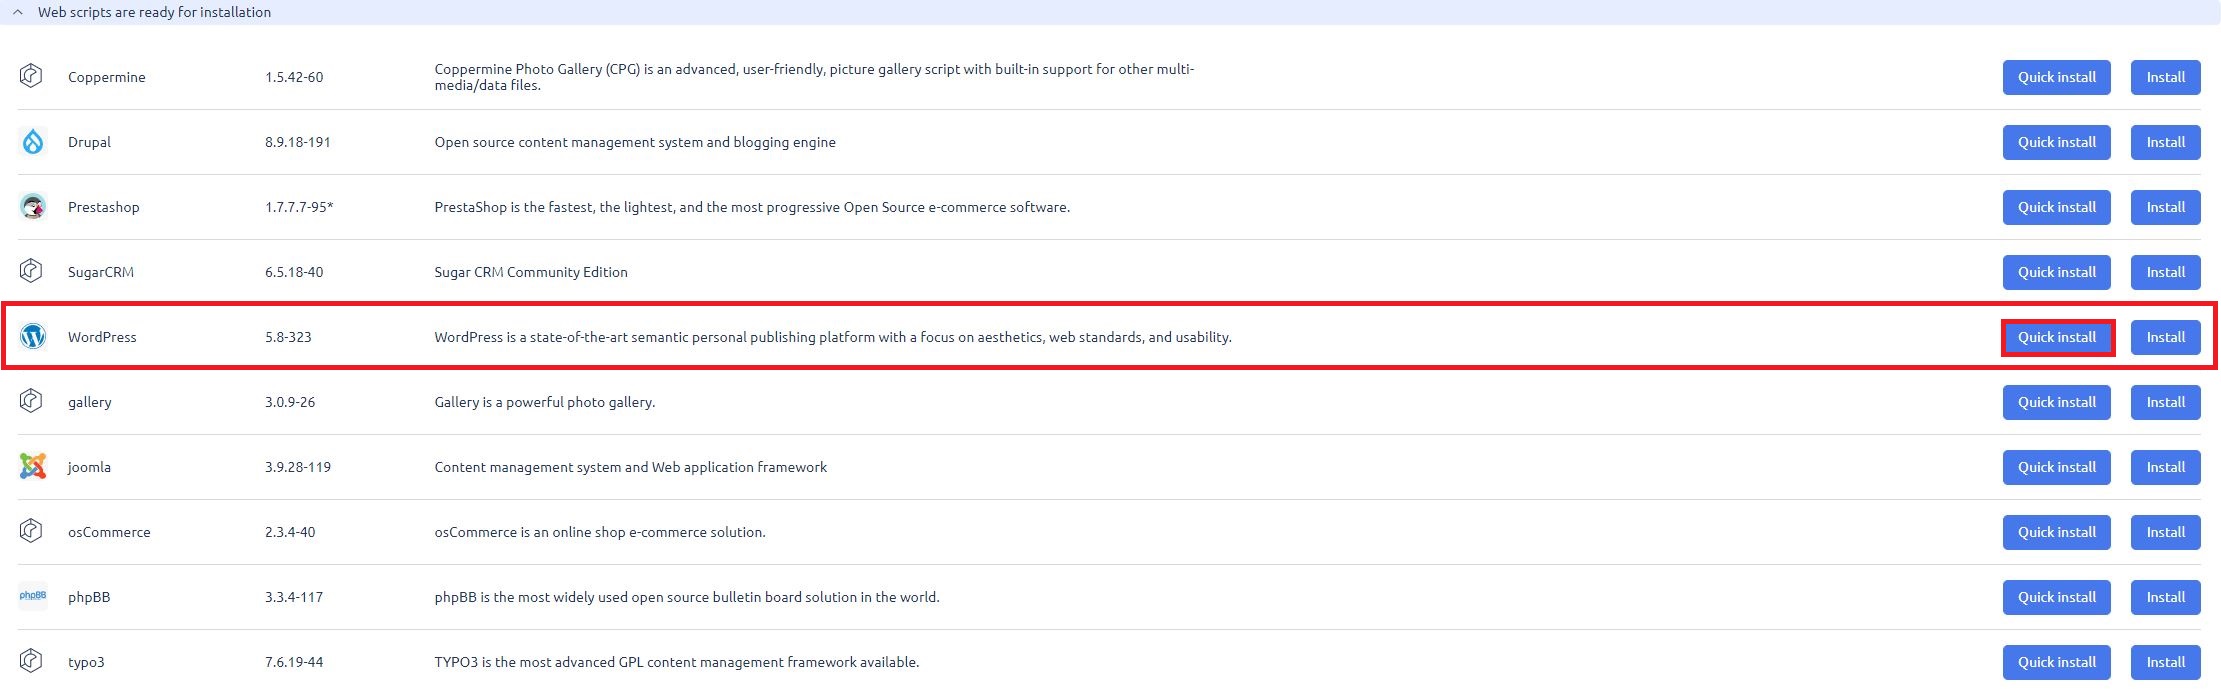
10. In the next window, we will see a large catalog of different ready-made scripts and CMS for installation on hosting. At this stage, you can choose any other CMS, further actions may differ from this instruction, but insignificantly. The principle is the same. We find WordPress we need and click the Quick Installation button:
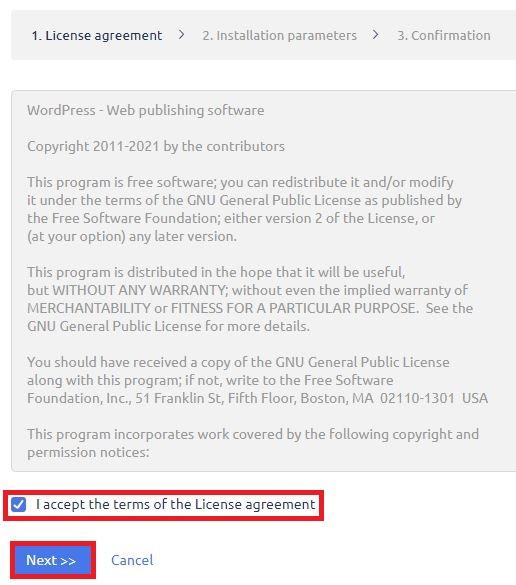
11. In the next step, we agree to the WordPress license:
12. In the next dialog window, you need to specify a few important settings needed for installing CMS WordPress on your new hosting. We see two blocks of settings: "Installation Settings" — in this section, you need to specify the database parameters. Specify any name and any user. Generate passwords automatically. This database will be linked to your site.
In the second block — "Application Settings" you need to specify the login and password for logging in as an Administrator. With these data, you will enter the admin panel of the future site. We recommend saving this data. Also, specify the administrator's email, the site name, and the admin panel language, which will be enabled right after installation. All data in this block can be changed at any time later.
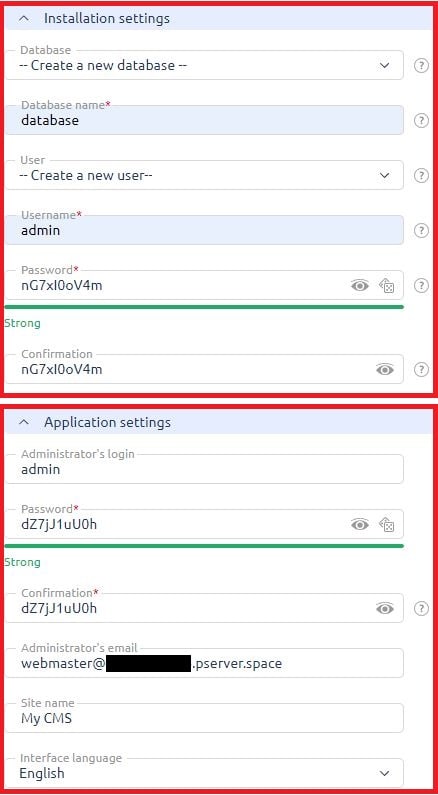
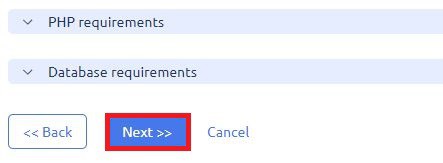
After entering all the data, click the "Next" button
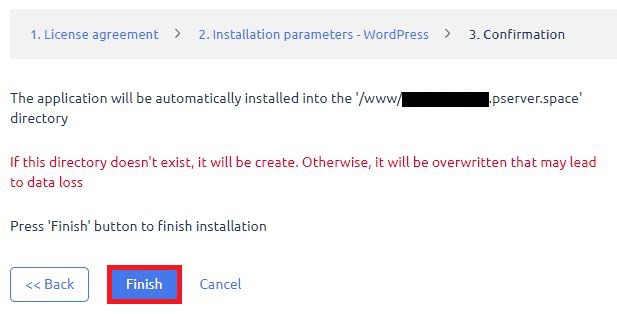
13. In the next step, confirm that you want to install CMS WordPress on hosting. Click the Finish button:
14. After the installation is finished, you will see that the WordPress script has been successfully installed on your hosting:

Result
15. The site is installed. When navigating to the third-level domain, which was automatically issued by the hosting panel, the user will see their site. For the domain to become accessible worldwide, it must be registered in all DNS, which can take up to 72 hours. However, this usually happens faster.
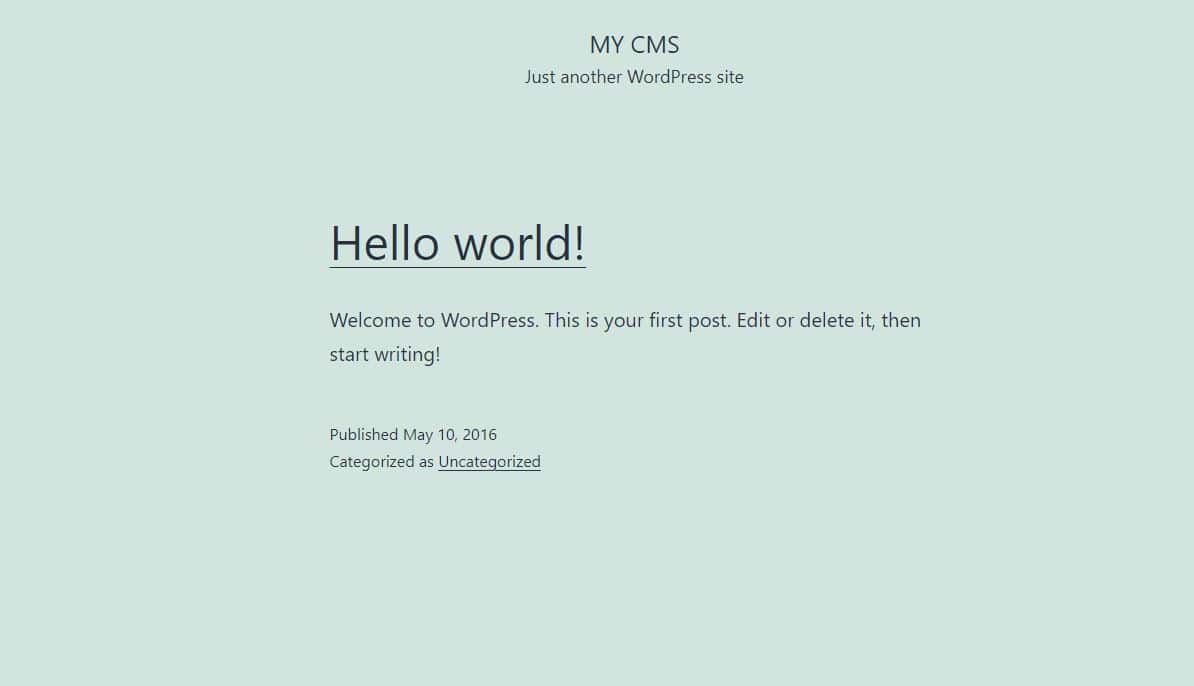
16. The site is installed, and you can start creating. To manage the site and the first steps of setting up, go to the WordPress Administrator panel, located at yoursite/wp-admin/
For authorization in the admin panel, specify the login and password set during the installation at step 12.
Thank you for reading this article up to the end. We also have a great screencast video that shows how to install a CMS on your hosting right from your admin panel with WordPress as an example.
