Today, VPN and proxy technologies are increasingly in demand. Users employ them for secure internet access, bypassing censorship, and protecting against external threats. When you connect to such a server, all your traffic travels through an encrypted tunnel, and the server becomes your gateway to the network.
Classic protocols like OpenVPN or WireGuard perform well under stable conditions but often suffer from speed drops on poor connections with high packet loss (mobile networks, public Wi-Fi, countries with strict censorship). This is where modern protocols like Hysteria2 and TUIC come into play. They are built on top of QUIC, offering high speed, low latency, and effective traffic obfuscation as regular HTTPS (HTTP/3).
Hysteria2 utilizes the "Brutal" algorithm, which aggressively utilizes the available bandwidth. TUIC (version 5) is characterized by minimal overhead, excellent UDP support, and 0-RTT connection establishment.
In this article, we'll walk through setting up the server on Ubuntu/Debian and connecting from Windows.
What you'll need: a VPS running Ubuntu 22.04/24.04 or Debian 12, root access, and the server's IP address. No domain is required.
Connecting to the server
Windows (PuTTY): open PuTTY, enter YOUR_SERVER_IP as the host, 22 as the port, and log in as root with the password from your VPS provider's email.
Linux/macOS (terminal):
ssh root@YOUR_SERVER_IPAll commands below are run on the server, in this same session.
Server preparation (Ubuntu / Debian)
Enable IP forwarding
This allows the server to forward client packets further to the internet.
nano /etc/sysctl.confEnter or create a password (use only English letters and numbers, no spaces).
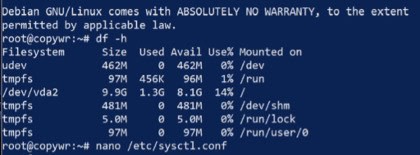
Find and uncomment (remove the # at the beginning) or add the following line:
net.ipv4.ip_forward=1
Save the file (Ctrl+O, Enter) and exit (Ctrl+X). Apply the changes without rebooting:
sysctl -pNAT setup (masquerading)
This setting allows clients to access the internet through your server using its IP address.
Find out the name of your external network interface (the one that faces the internet):
ip link show
Usually this is eth0, ens3, or enp1s0. Copy or remember it, then add the masquerading rule to iptables — replace eth0 with your own interface name:
iptables -t nat -A POSTROUTING -o eth0 -j MASQUERADE
Saving iptables rules
To prevent the rules from being reset after a server reboot, they need to be saved.
apt update
apt install iptables-persistent -y
netfilter-persistent save
During installation you may see a prompt to save the current IPv4/IPv6 rules — answer "Yes" both times.
Firewall setup (UFW)
We open all the ports we'll need right away, so there's no need to come back to this step later: 22 for SSH (skipping this would lock you out of the server), 443/udp for Hysteria2, and 8443/udp for TUIC.
apt install ufw -y
ufw allow 22/tcp
ufw allow 443/udp
ufw allow 8443/udp
ufw --force enable
ufw status
The output of ufw status should list all three rules as active.
Hysteria2
Installing the Hysteria2 server
chmod +x hysteria-linux-amd64
mv hysteria-linux-amd64 /usr/local/bin/hysteria
hysteria version
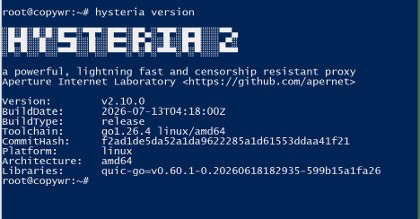
Make sure the version output appears without errors — this confirms the binary works correctly.
Creating a self-signed SSL certificate
We need our own encryption keys to protect the traffic between your computer and the server. Since we don't have a domain, we'll generate a self-signed certificate valid for 365 days. Because of this, you'll need to enable "Skip Cert Verify" in the client later.
mkdir -p /etc/hysteria
chmod 755 /etc/hysteria

openssl req -x509 -nodes -days 365 -newkey rsa:2048 \
  -keyout /etc/hysteria/private.key \
  -out /etc/hysteria/cert.crt \
  -subj "/CN=YOUR_SERVER_IP"
ls -la /etc/hysteria/Both cert.crt and private.key should be listed.
Creating the configuration file
nano /etc/hysteria/config.yamlPaste the following, replacing YOUR_PASSWORD with your own password (English letters and numbers only, no spaces):
listen: :443

tls:
  cert: /etc/hysteria/cert.crt
  key: /etc/hysteria/private.key

auth:
  type: password
  password: "YOUR_PASSWORD"

masquerade:
  type: proxy
  proxy:
    url: https://cloudflare.com
    rewriteHost: true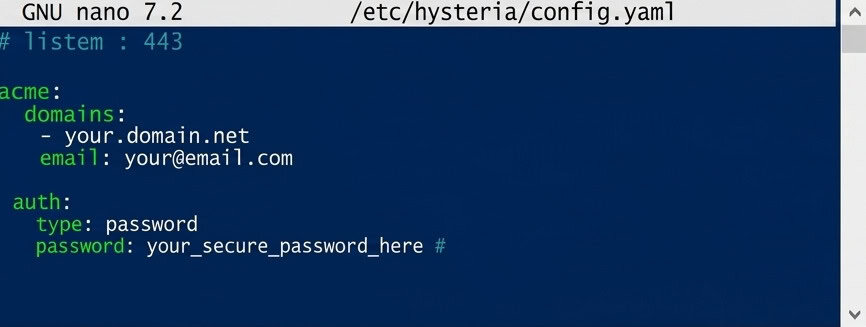
The masquerade block makes the server look like an ordinary website if someone opens its IP address in a browser, rather than revealing signs of a proxy.
Save (Ctrl+O, Enter) and exit (Ctrl+X).
Setting up autostart
nano /etc/systemd/system/hysteria.service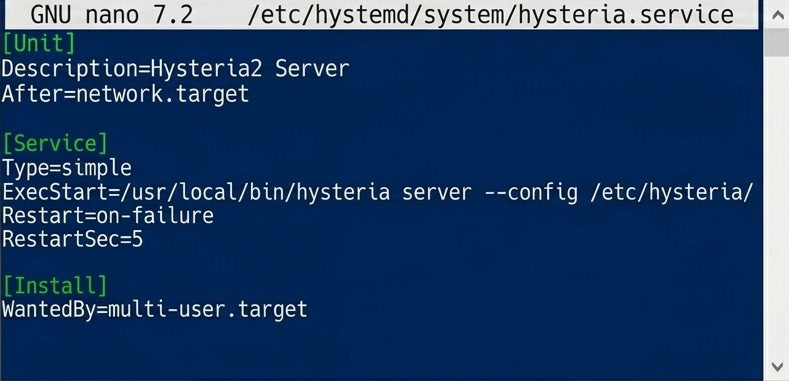
The systemd unit file for Hysteria2 autostart.
[Unit]
Description=Hysteria2 Server
After=network.target

[Service]
Type=simple
ExecStart=/usr/local/bin/hysteria server --config /etc/hysteria/config.yaml
Restart=on-failure
RestartSec=5

[Install]
WantedBy=multi-user.target
systemctl daemon-reload
systemctl enable --now hysteria.service
systemctl status hysteria.service
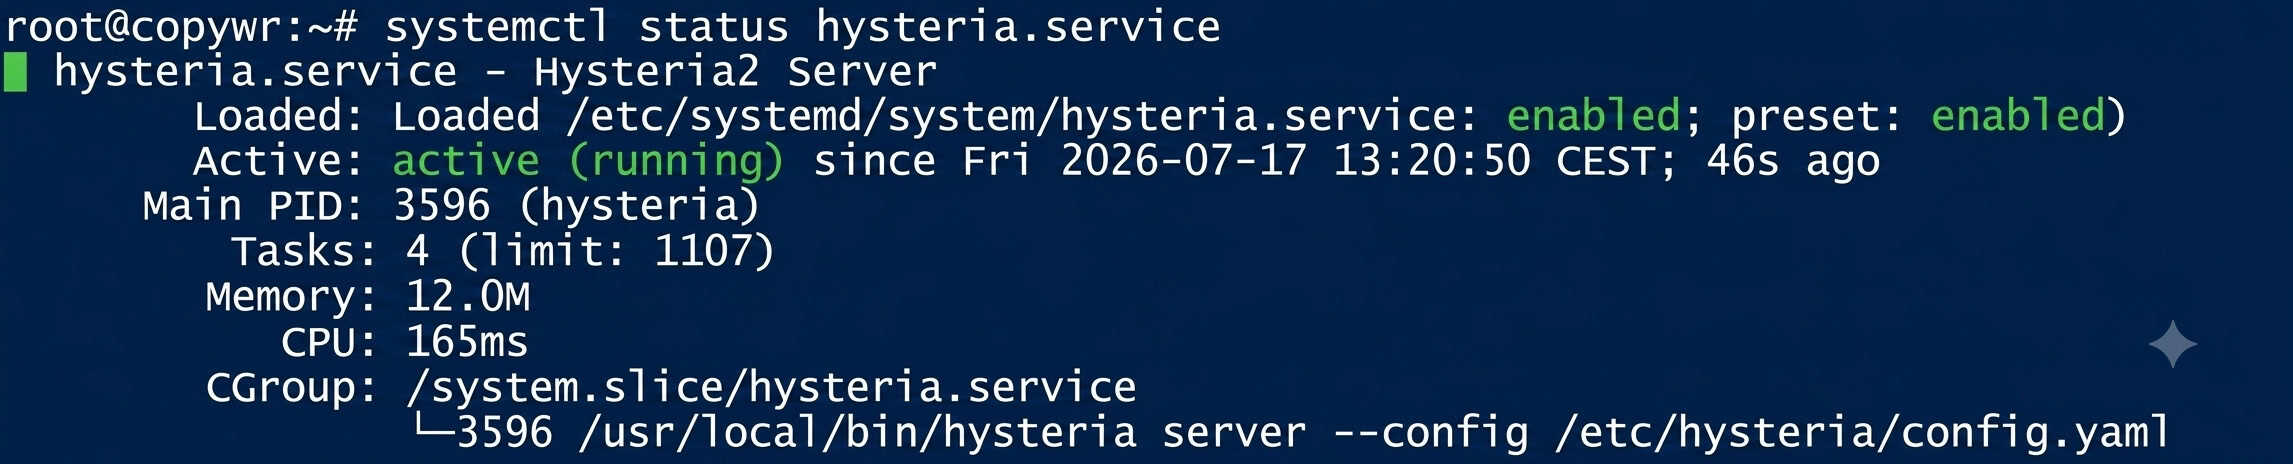
The status should show active (running). If the console is "stuck" on the log view, press Q to exit it.
TUIC v5
Downloading and installing TUIC
mkdir -p /usr/local/sbin/tuicCheck the available releases:
curl -s https://api.github.com/repos/tuic-protocol/tuic/releases | grep -Po '"tag_name": "\K[^"]*' | head -10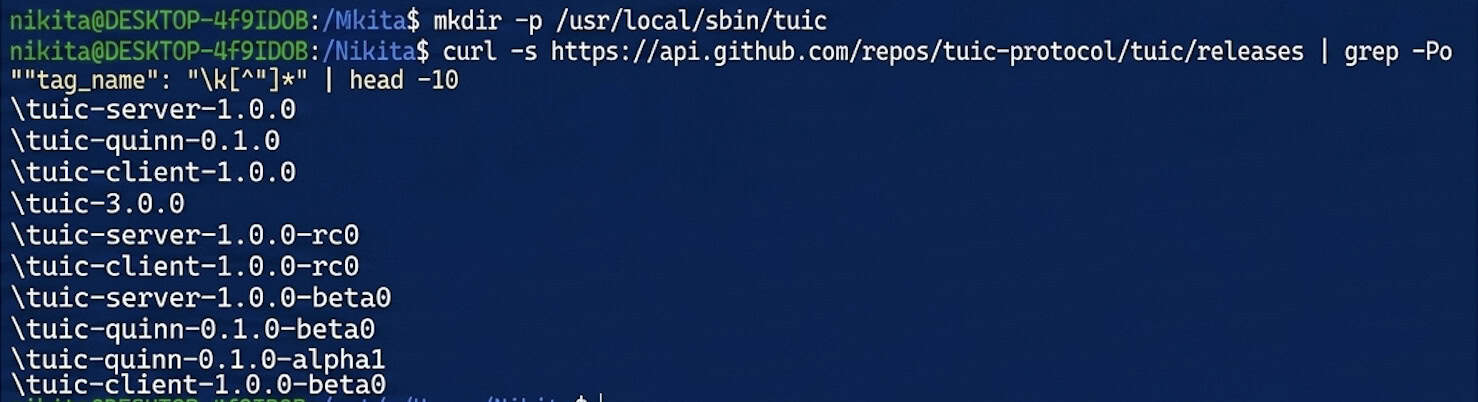
Download the server binary — substitute the current version number for 1.0.0:
wget https://github.com/tuic-protocol/tuic/releases/download/1.0.0/tuic-server-1.0.0-x86_64-unknown-linux-gnu \
  -O /usr/local/sbin/tuic/tuic-server
chmod +x /usr/local/sbin/tuic/tuic-server
/usr/local/sbin/tuic/tuic-server --version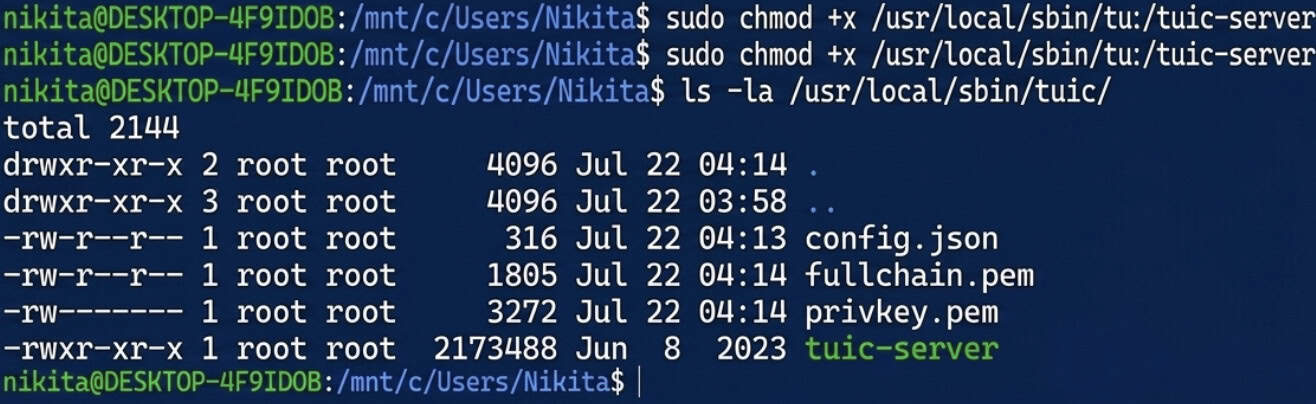
Creating a self-signed certificate for TUIC
openssl req -x509 -nodes -days 365 -newkey rsa:2048 \
  -keyout /usr/local/sbin/tuic/privkey.pem \
  -out /usr/local/sbin/tuic/fullchain.pem \
  -subj "/CN=YOUR_SERVER_IP"

ls -la /usr/local/sbin/tuic/
Generating a UUID
apt install uuid-runtime -y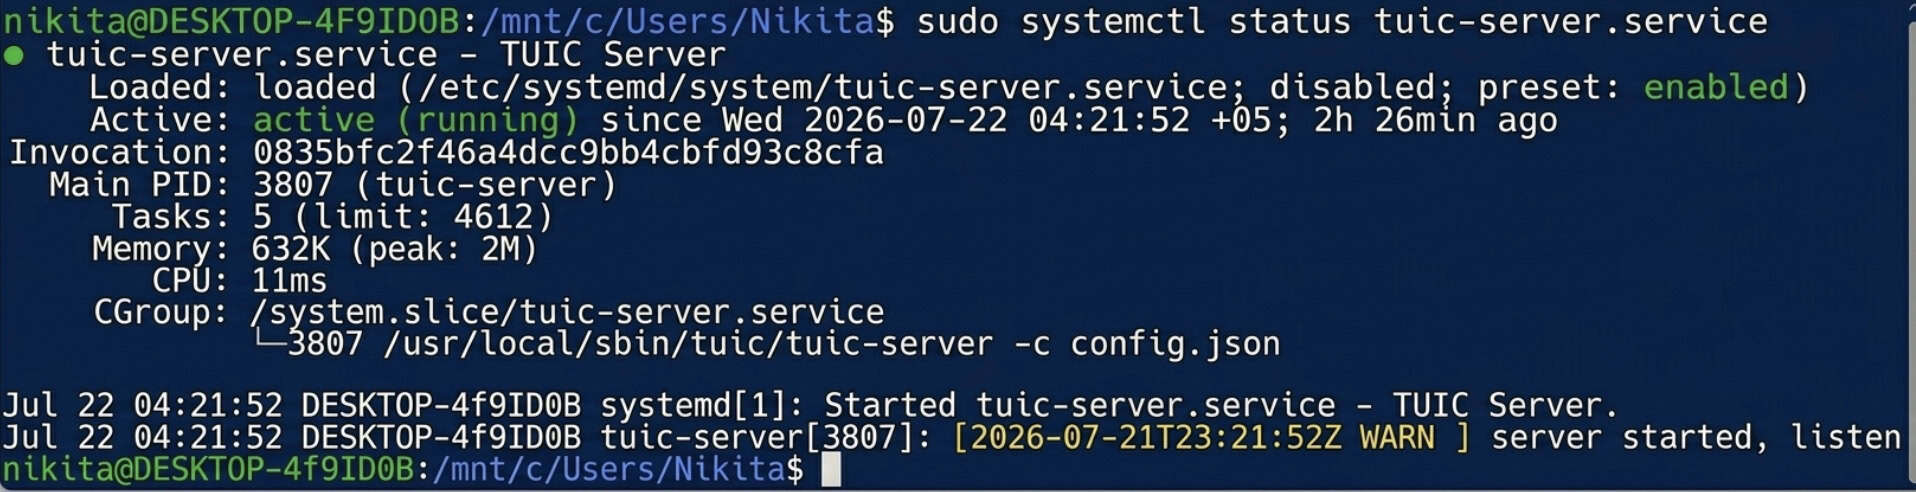
uuidgen
Copy the resulting UUID — you'll need it both in the server config below and in the client settings.
Creating the configuration file
The finished config.json for the TUIC server:
nano /usr/local/sbin/tuic/config.json
{
    "server": "[::]:8443",
    "users": {
        "YOUR_UUID": "YOUR_TUIC_PASSWORD"
    },
    "certificate": "/usr/local/sbin/tuic/fullchain.pem",
    "private_key": "/usr/local/sbin/tuic/privkey.pem",
    "congestion_control": "bbr",
    "alpn": ["h3"],
    "log_level": "warn"
}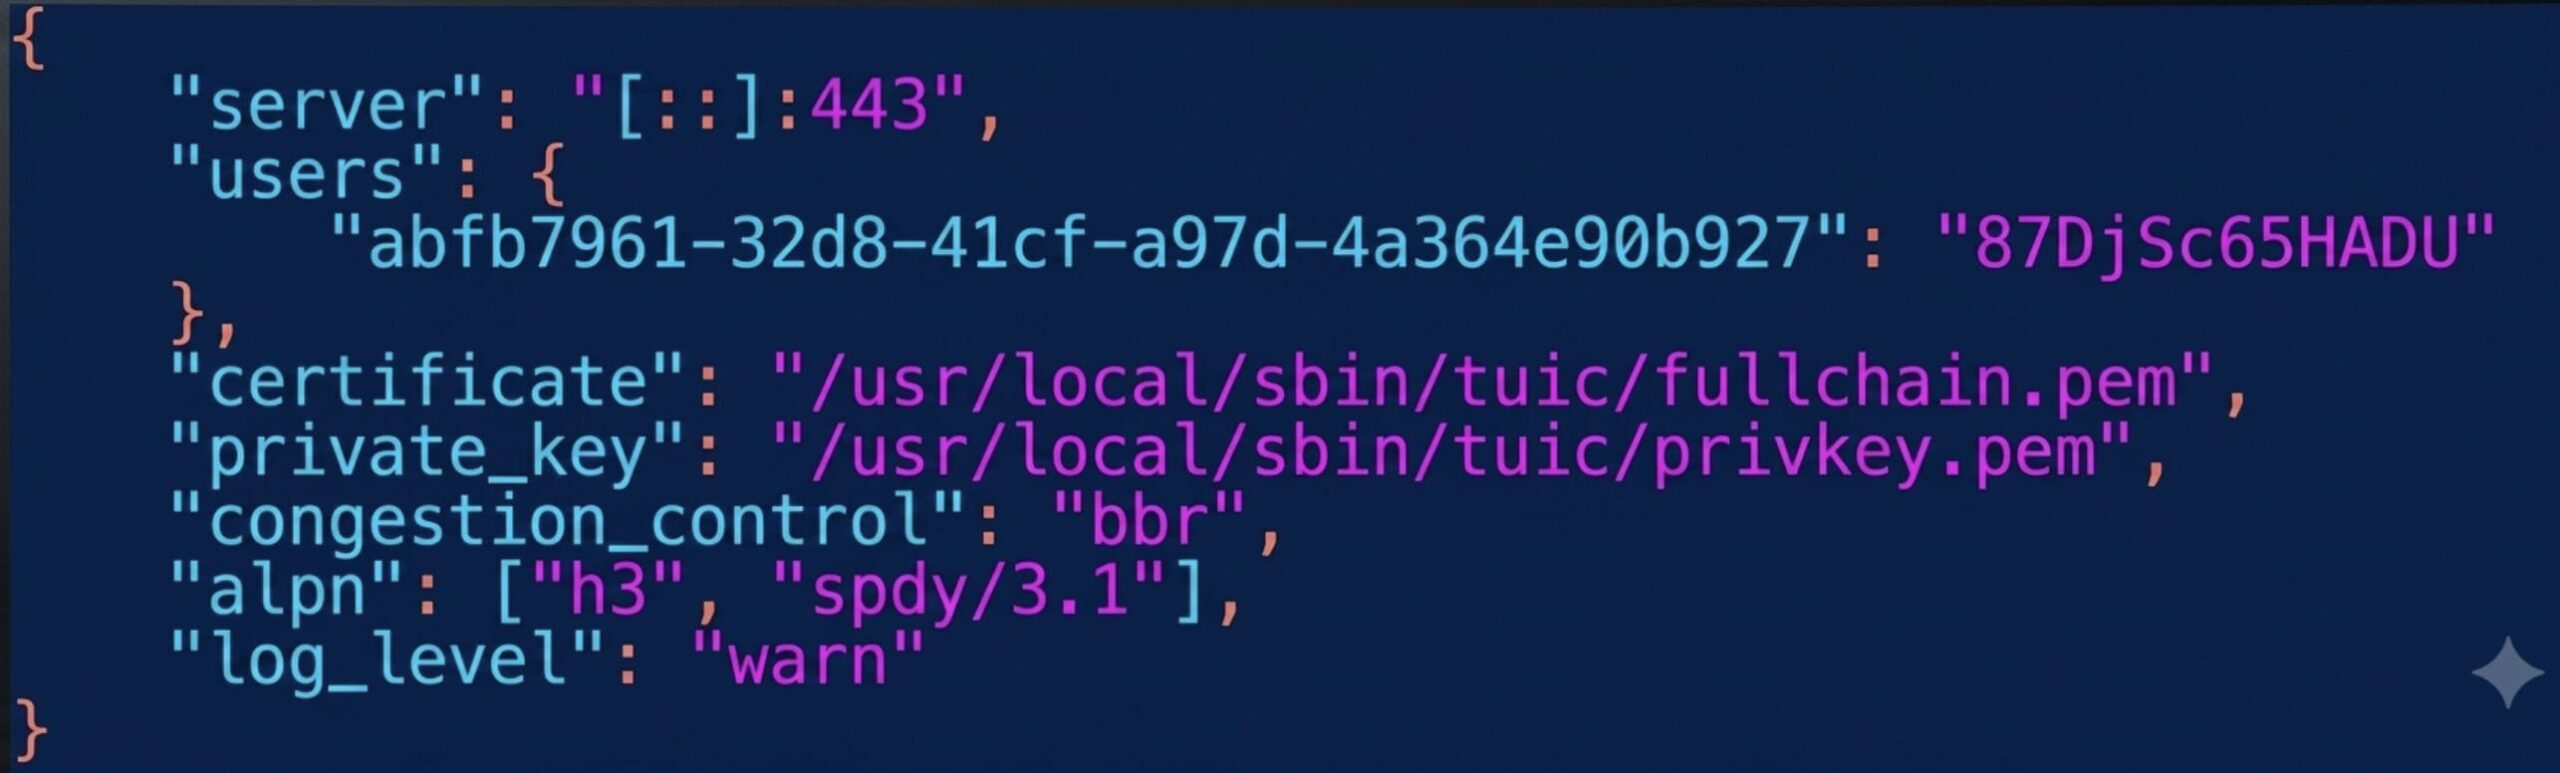
We use port 8443 here because 443 is already taken by Hysteria2. Replace YOUR_UUID with the value from step 4.3 and YOUR_TUIC_PASSWORD with your own password.
Save (Ctrl+O, Enter) and exit (Ctrl+X).
Testing a manual start
/usr/local/sbin/tuic/tuic-server -c /usr/local/sbin/tuic/config.json
If no errors appear, the configuration is valid. Stop it with Ctrl+C and move on to setting up autostart.
Setting up autostart
nano /etc/systemd/system/tuic-server.service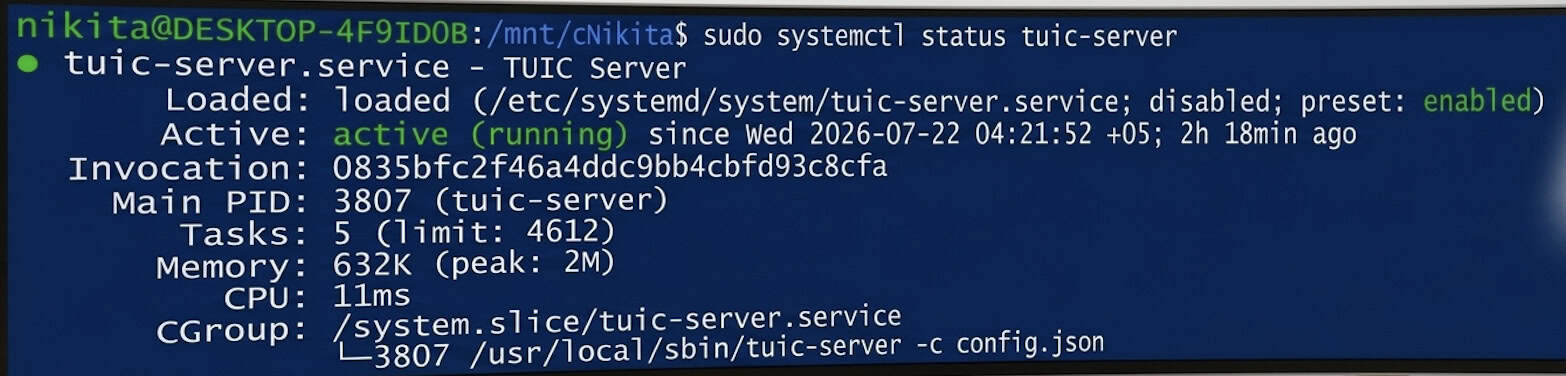
[Unit]
Description=TUIC Server
After=network.target nss-lookup.target

[Service]
User=root
WorkingDirectory=/usr/local/sbin/tuic
ExecStart=/usr/local/sbin/tuic/tuic-server -c config.json
Restart=on-failure
RestartPreventExitStatus=1
RestartSec=5

[Install]
WantedBy=multi-user.target
systemctl daemon-reload
systemctl enable --now tuic-server.service
systemctl status tuic-server.service
The status should show active (running).
Now two of the best and fastest modern protocols are running in parallel on the server, both masquerading as regular QUIC/HTTPS traffic: Hysteria2 on the standard port 443/udp, and TUIC v5 on port 8443/udp.
Connecting from Windows
Installing Hiddify
Download and install Hiddify for Windows from the official website: https://hiddify.com. Click through the installer with "Next" / "Install". If Windows SmartScreen appears, choose "More info" → "Run anyway".
Hysteria2 profile
Click + (New Profile) → "Manual Entry" → protocol Hysteria2, and fill in:
|
Field |
Value |
|
Profile Name |
My Hysteria2 Server |
|
Address |
YOUR_SERVER_IP |
|
Port |
443 |
|
Password |
the password from step 3.3 |
|
SNI |
YOUR_SERVER_IP |
|
Skip Cert Verify |
On |
Skip Cert Verify needs to be enabled because the certificate is self-signed — there's no trusted certificate authority behind it.
TUIC v5 profile
Click + (New Profile) → "Manual Entry" → protocol TUIC, and fill in:
|
Field |
Value |
|
Profile Name |
My TUIC Server |
|
Address |
YOUR_SERVER_IP |
|
Port |
8443 |
|
UUID |
the UUID from step 4.3 |
|
Password |
the password from step 4.4 |
|
Congestion Control |
bbr |
|
SNI |
YOUR_SERVER_IP |
|
Skip Cert Verify |
On |
Connecting and verifying
Select a profile, then click the large round "Connect" button. The status should change to "Connected".
To confirm the traffic is actually routed through your server, open any IP-checking service in your browser — the address shown should match YOUR_SERVER_IP.
Conclusion
By completing this guide, you have two high-speed, next-generation protocols running in parallel on your server: Hysteria2 on port 443/UDP and TUIC v5 on port 8443/UDP. Both protocols disguise transmitted traffic as a standard encrypted QUIC connection (HTTP/3), ensuring a stable connection even on extremely unstable channels.
The configured profiles can be used not only on Windows but also imported into the Hiddify mobile app for Android or iOS with similar settings.
If you encounter connection difficulties, first check the service statuses using the systemctl status command hysteria.service (or tuic-server.service ), ensure that firewall rules are active ( ufw status ), and double-check that the IP address, UUID, and passwords are entered correctly. Please note: issued self-signed certificates are valid for 365 days, so after exactly one year, they will need to be renewed using the same openssl req command.