SystemRescue, formerly known as SystemRescueCD, is a Linux distribution designed for recovering damaged operating systems, partition management, backup, and administration. It is based on Arch Linux, containing many utilities for working with the system.
Main features of SystemRescue
- Bootloader recovery (GRUB, Syslinux)
- Working with damaged file systems
- Partition management (GParted, parted, fdisk, gdisk)
- Creating and restoring backups (Clonezilla, dd, rsync)
- Checking SMART disks (smartctl)
- Working with networks (SSH, NFS, Samba)
- Support for utilities for Windows NTFS and FAT
- Remote access (VNC, SSH)
Getting Started with SystemRescue
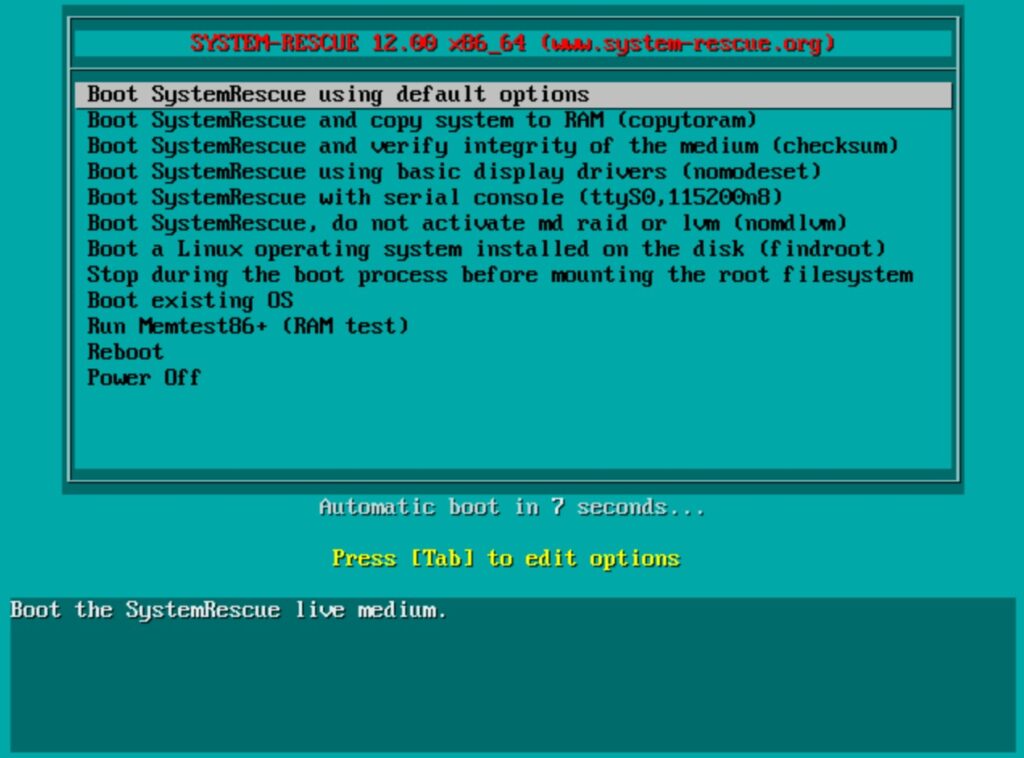
For the convenience of users, the SystemRescue distribution is already available for entering the recovery mode. To use this feature, go to the VMManager virtual server control panel and activate the recovery mode.


You can now access the server. How to do it? You need to connect via the VNC protocol in any convenient way: through a browser or a client installed on your computer. Then you will have access to all the system management options through SystemRescue.
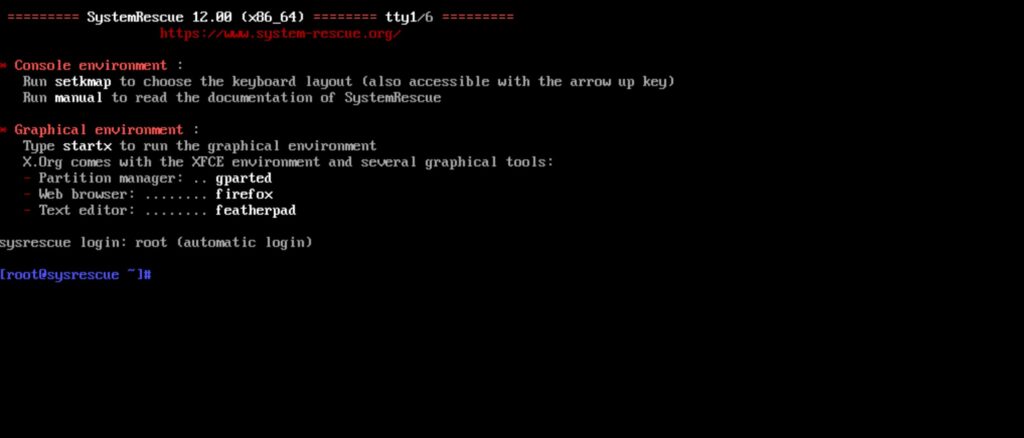
SystemRescue in console mode
The main actions are performed in console mode. Mount partitions to diagnose Linux or Windows systems installed on your disk. You can mount Linux file systems (ext4, xfs, btrfs, reiserfs), as well as FAT and NTFS partitions used by Windows, you can back up data and operating system files, and restore them, you can use the vim and nano editors to edit files.
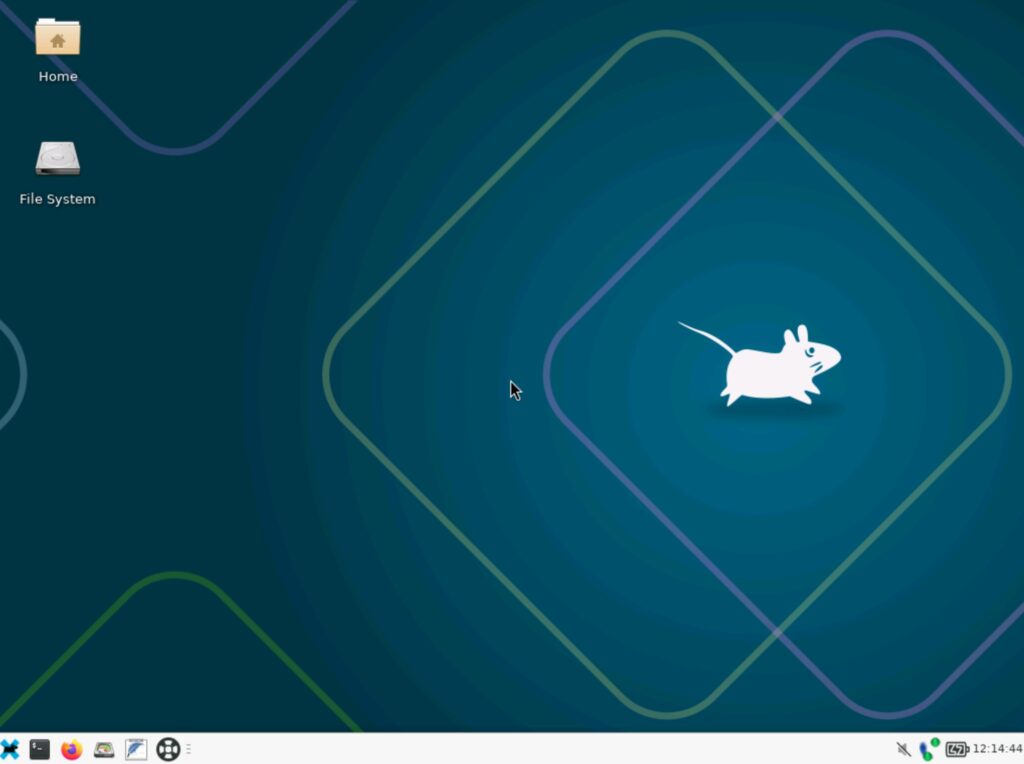
SystemRescue with GUI
If you need graphical tools, you can start the graphical environment by entering the startx command. The graphical environment allows you to work with GParted (partition manager), use graphical editors such as Geany or Featherpad, browse the web, and use terminals such as xfce-terminal.
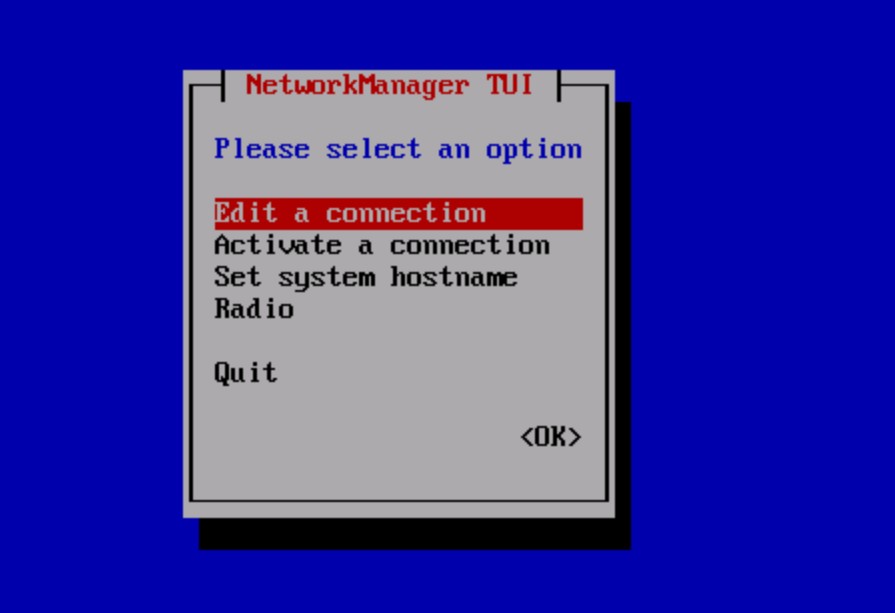
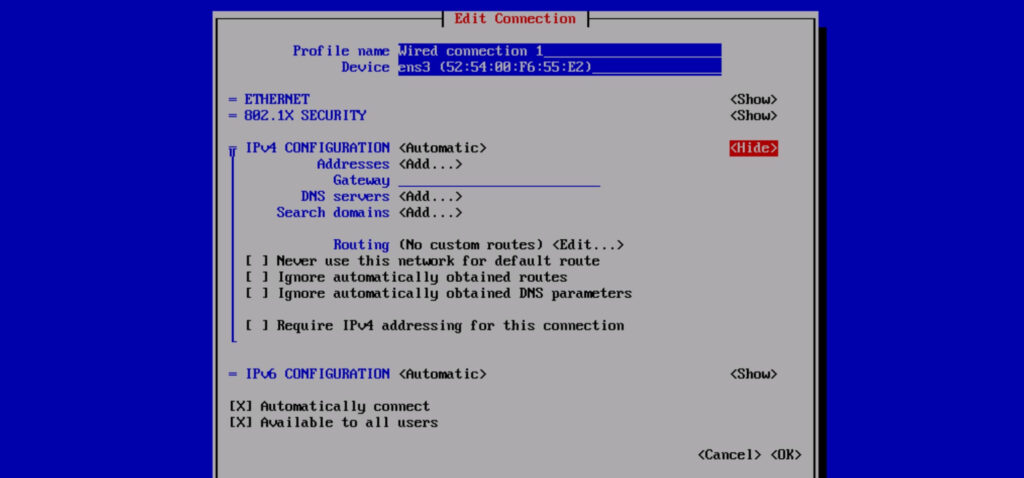
Network Settings SystemRescue
SystemRescue allows you to connect to the network. This feature allows you to create backups over the network, download files, work remotely via SSH or access files located on a Linux server (via NFS) or a Windows system (via Samba). The most convenient way to configure the network is to use the Network-Manager service. It provides a very convenient graphical tool for configuring the network. It greatly simplifies the configuration of the network. This tool is available as a small icon in the taskbar next to the clock in the graphical environment. A convenient console utility is nmtui - it provides a text interface for configuring and managing network connections. It is part of NetworkManager and allows users to configure network parameters without leaving the terminal.
If you want to set up the network manually, you can use the handy command line tools.
Open a terminal and run:
ip link showYou will see a list of interfaces, for example:
1. lo: ...
2. ens3: ...
Static IP setup:
ip addr add 192.168.1.100/24 dev ens3
ip route add default via 192.168.1.1
Check with the command:
ip addr show eth0
ip route
You can configure DNS by editing or creating a file /etc/resolv.conf:
nano /etc/resolv.confAnd make entries:
nameserver 8.8.8.8
nameserver 1.1.1.1
Basic SystemRescue Tools and Commands
Restoring the GRUB bootloader
Determine the root partition:
fdisk -lMount root partition:
mount /dev/sdXn /mntFor UEFI systems:
mount /dev/sdXn /mnt/boot/efiInstall GRUB:
grub-install --root-directory=/mnt /dev/sdXn
update-grub
For XFS (check only):
xfs_repair -n /dev/sdXnManaging partitions
Available commands: parted, fdisk, gdisk, lsblk, mkfs, mount, umount
Creating an ext4 partition:
mkfs.ext4 /dev/sdXnWorking with file systems
Checking and restoring the file system:
fsck /dev/sdXn         # для ext4, ext3
ntfsfix /dev/sdXn      # для NTFS
Mounting:
mount /dev/sdXn /mntWorking with Btrfs and XFS:
btrfs check /dev/sdXn
xfs_repair /dev/sdXn
Disk cloning with ddrescue
Cloning a damaged disk to an image:
ddrescue -f -n /dev/sdXn /mnt/backup/sdXn.img /mnt/backup/sdXn.logContinuing an interrupted cloning with an attempt to recover bad sectors:
ddrescue -d -f -r3 /dev/sdXn /mnt/backup/sdXn.img /mnt/backup/sdXn.logBackup
With dd:
dd if=/dev/sdXn of=/dev/sdXn bs=64K status=progressWith rsync:
rsync -aAXv /mnt/source/ /mnt/backup/Copying data over the network
On the target machine (receiver):
nc -l -p 1234 | dd of=disk.imgOn the original machine (source):
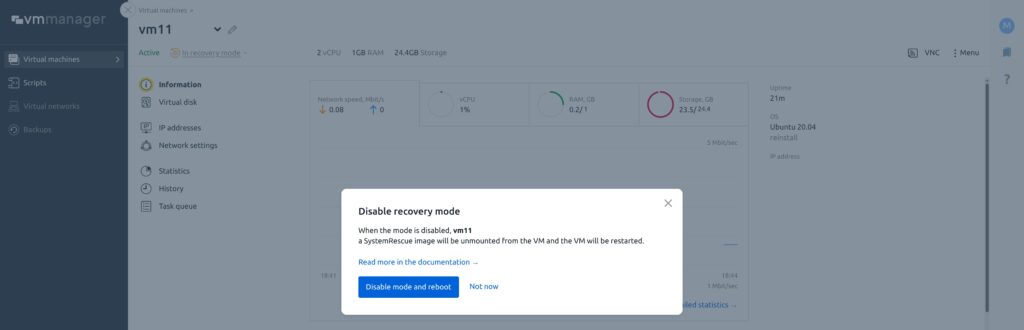
dd if=/dev/sdXn | nc 192.168.1.100 1234Exit recovery mode
In the VMManager virtual server control panel, select the required machine and disable the recovery mode in the menu; after rebooting, the server will boot to its previous state.
FAQ SystemRescue
How to write SystemRescue to a USB flash drive?
Download the distribution from the official website, then create an installation flash drive
Windows: with Rufus
Linux:
dd if=systemrescue.iso of=/dev/sdX bs=4M status=progress && syncIs it possible to use SystemRescue without installation?
Yes, it works entirely in Live mode - running from USB, CD or ISO in a virtual machine.
What file systems does it support?
Supported ext2/3/4, XFS, Btrfs, FAT, NTFS, ReiserFS, exFAT and others.
How to clone a disk?
Linux:
dd if=/dev/sda of=/dev/sdb bs=64K status=progressIs it possible to recover deleted files?
Yes, using photorec (text interface) or testdisk (partition recovery).
How to create a backup copy?
For example rsync:
rsync -aAXv /mnt/source/ /mnt/backup/Is there support for Windows disks?
Yes, you can mount and read NTFS and FAT32.
Is it possible to use SystemRescue remotely?
Yes, SSH, VNC, Samba, NFS and other network tools are supported.
Conclusion
SystemRescue is an indispensable tool for system administrators, support engineers and power users. It makes it easy to recover data, troubleshoot boot issues, diagnose hardware and manage partitions. With a variety of built-in utilities, it replaces dozens of separate Live distributions and utilities in a single ISO.