In this article, we will give you step-by-step instructions on how to configure web environment on a server running Linux. First things first, you need to understand that a typical web server consists of a few interacting components:
- HTTP server
- programming language interpreter
- database management system (DBMS)
To manage your website you will also need to set up a content management system (CMS), a web interface for database management, and FTP access.
Let’s consider setting up a very popular configuration Apache-PHP-MySQL(MariaDB) on Linux. We will also install vsftpd ftp server, phpMyAdmin - a web interface for database management, and a content management system WordPress.
To start please order VPS server or dedicated server. For example we used a virtual server with static IP address running Ubuntu Server 18.04. All commands were run by the root user.
Apache HTTP Server configuration
1. Installation
apt install apache2When the installation is finished, open a browser and check “http://[server’s_ip_address]”
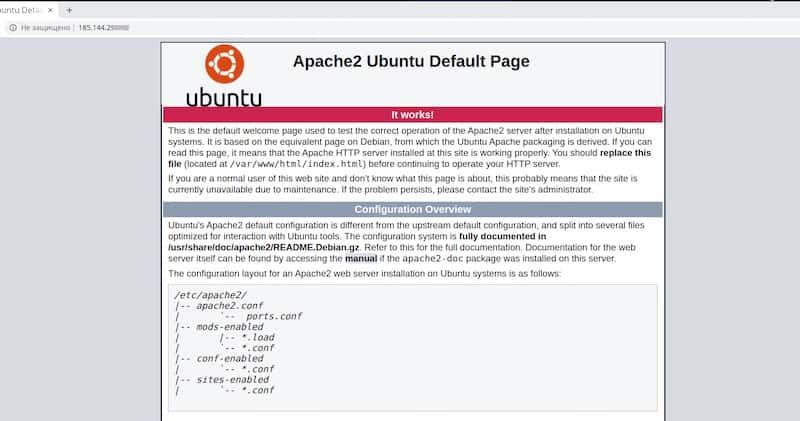
If you see a welcome page like this on the screenshot above, that means that your HTTP server is working.
2. Create a test page
The default root directory for the website is “/var/www/html”. This is where you can find the welcome page you just saw. Let’s create a separate directory “/var/www/sites” for virtual hosts and a subfolder “/var/www/sites/site1” with the index page of your test website.
cd /var/www/
mkdir -p sites/site1
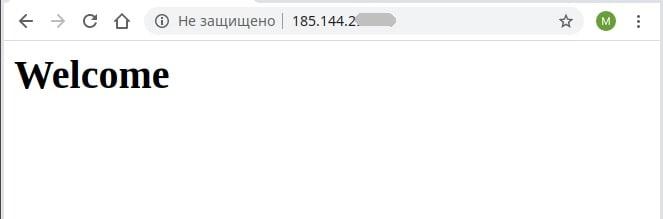
echo "<H1>Welcome</H1>" > sites/site1/index.htmlIn the result the file “/var/www/sites/site1/index.html” should contain just one line of html code:
<H1>Welcome</H1>3. Apache server configuration
Configuration files of the websites are in “/etc/apache2/sites-available/” catalog. Let’s create a configuration file for a new virtual host taking the default configuration from the file “000-default.conf” as a basis.
cd /etc/apache2/sites-available/

cp 000-default.conf site1.conf
Open the file “site1.conf” and change the “DocumentRoot” attribute. Put the path of your website as the value, so in our case it’s “/var/www/sites/site1”

At this stage we don’t need to configure the simultaneous operation of multiple websites, so we can disable the default website and enable the new site. Reload the server configuration to apply the changes.
a2dissite 000-default

a2ensite site1

systemctl reload apache2
Open the link “http://[server’s _ip_address]” again and make sure that instead of the default welcome page we have our new page.
We finished configuration of our HTTP server and we can proceed to the next step.
FTP server configuration
1. Installation
Let’s install our ftp server and an additional package “db-util”, that we’ll need to configure virtual users
apt install vsftpd db-util2. Create local account
The vsftpd server allows us to configure access permissions in a very flexible way. For our tasks we need to provide ftp users with the following:
- full access to the contents of “/var/www/sites/”;
- disable all that’s above “/var/www/”;
- connection with a virtual account;
Create a local account “virtual” without login permission but with access to home folder “/var/www/”. This account will be used by ftp users to connect to the server
useradd -d /var/www virtual“Root” will be the owner of the “/var/www” folder by default. In order to enable ftp users to modify the contents of the websites, let’s change the owner of “/var/www/sites/” including subfolders of “virtual”.
chown -R virtual:root /var/www/sitesAs a result, the user “virtual” will be able to see the contents of “/var/www/” and write into the “/var/www/sites/” subfolder.
3. Configuration
The main configuration is in the file “/etc/vsftpd.conf”, so let’s open it and edit it as follows:
#enable virtual users

anonymous_enable=NO

local_enable=YES

guest_enable=YES

guest_username=virtual
#configure permission
write_enable=YES
anon_upload_enable=YES
anon_mkdir_write_enable=YES
anon_other_write_enable=YES
anon_world_readable_only=NO
anon_umask=0022
chroot_local_user=YES#launch settings
listen=YES
pasv_min_port=30000
pasv_max_port=309994. Create the database
You will need a database in order to store data of virtual accounts.
First, let’s create a simple text file “users.txt” in the home folder and save access details (login and password) of virtual users into every other line. For example, we will need a virtual user with the login “ftp” and password “Qwe123”. Then the file will look like this:
ftp

Qwe123
Let’s create the database
db_load -T -t hash -f ~/users.txt /etc/vsftpd_login.dbLet’s modify the default PAM file “/etc/pam.d/vsftp” as follows:
auth required /lib/x86_64-linux-gnu/security/pam_userdb.so db=/etc/vsftpd_login

account required /lib/x86_64-linux-gnu/security/pam_userdb.so db=/etc/vsftpd_login
Please note that the path of the “pam_userdb.so” library may be different but you can change it if needed.
Reload the vsftpd server to apply changes.
systemctl restart vsftpdWe finished configuring the FTP server.
Connection details:
- ftp://[server’s_ip_address]
- login: ftp
- password: Qwe123
PHP server configuration
1. Installation of PHP
Today the latest stable version of PHP is php 7.4.5 which’s not included in official Ubuntu repositories. Let’s connect a third-party repository and install the latest version of PHP.
apt update

apt install software-properties-common

add-apt-repository ppa:ondrej/php

apt update

apt install php7.4
2. Check
In order for PHP to be executed web page file should have “.php” extension. Let’s rename our test page:
cd /var/www/sites/site1/

mv index.html index.php
Add the following php line to the file “/var/www/sites/site1/index.php”, so the file should look like this:
<H1>Welcome</H1>

<?php

phpinfo();

?>
Save the changes and check the result in the browser.
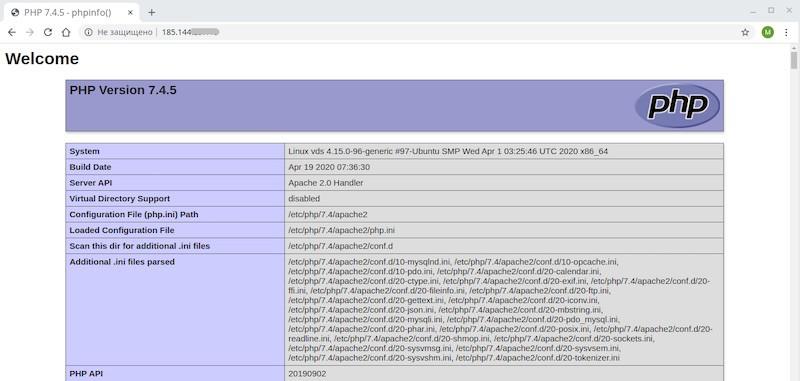
If you see the result of function “phpinfo()”, the PHP interpreter is working properly. Now let’s proceed to the next step.
MySQL (MariaDB) configuration
1. Installation
Let’s install MariaDB and a PHP module for MySQL and then reload Apache.
apt install mariadb-server php-mysql
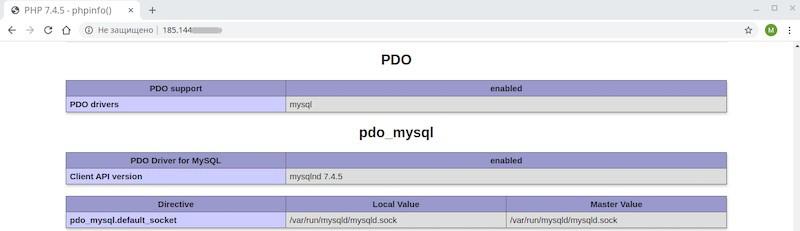
systemctl restart apache2Refresh the test page and go to the section PDO in the PHP configuration table. If you can find the section “PDO_mysql”, then it means the driver for Mysql is installed correctly.
Then we will need to do the initial security configuration of MariaDB and set the password for the “root” user, disable remote access, and delete all guest accounts.
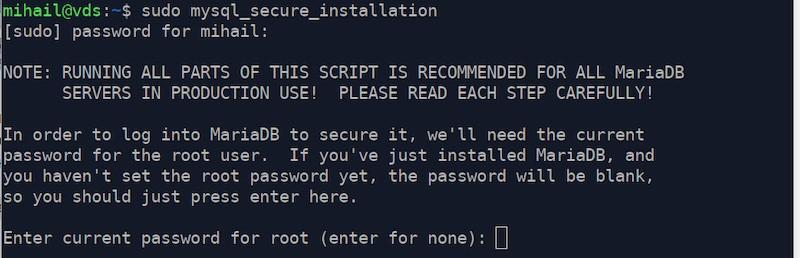
mysql_secure_installationAt the first step, we have to enter the "root" user’s password to access DBMS or press Enter if there’s no password. Since there’s no password set for the "root" user after installation, just press “Enter”.
Please note that in MariaDB there are already its own accounts that have nothing to do with the OS accounts. So the only user we deal with in MariaDB is "root".
After that, the configurator will ask us to set the password for the root user. Type “Y” to confirm and enter the new password. In our case, it’s “Qwe123”
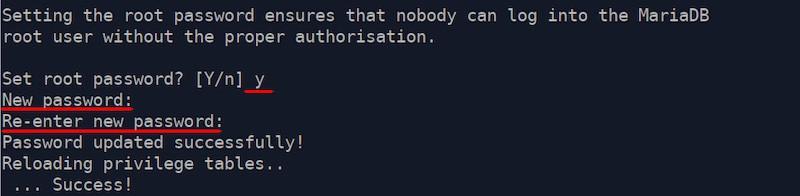
Reply “Y” to all the rest questions up to the very end.
Configuration is done!
MariaDB access details:
- Login: root
- Password: Qwe123
phpMyAdmin configuration
1. Installation
Let’s install the necessary extension for PHP - mbstring.
apt install php-mbstringIn the official repository there’s only an outdated version of phpMyAdmin, so let’s install the new one manually.
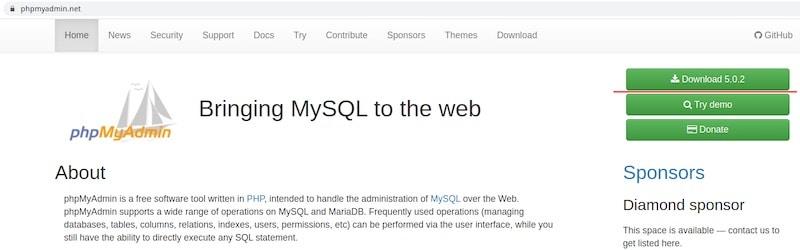
Open the official website of the project “https://www.phpmyadmin.net/” and download the latest archive.
Copy the archive to the server in the “/var/www/sites/” folder using any ftp client.
Unarchive the folder and rename it to “phpMyAdmin”. Don’t forget to install the “unzip” utility. You can delete the archive after you unarchived it.
apt install unzip

cd /var/www/sites/

unzip phpMyAdmin-5.0.2-all-languages.zip

mv phpMyAdmin-5.0.2-all-languages phpMyAdmin

rm phpMyAdmin-5.0.2-all-languages.zip
Create the following folder “/var/www/sites/phpMyAdmin/tmp” for temporary files and enable access for everyone. If you don’t do this, phpMyAdmin will report access denied to the temporary folder.
cd /var/www/sites/phpMyAdmin/

mkdir tmp

chmod 777 tmp
2. Create an alias
Since phpMyAdmin is not a separate virtual host and is located outside of the root directory, let’s configure the alias.
Open the file “/etc/apache2/mods-available/alias.conf” and add this line:
Alias /pma “/var/www/sites/phpMyAdmin"inside this section:
<IfModule alias_module>

</IfModule>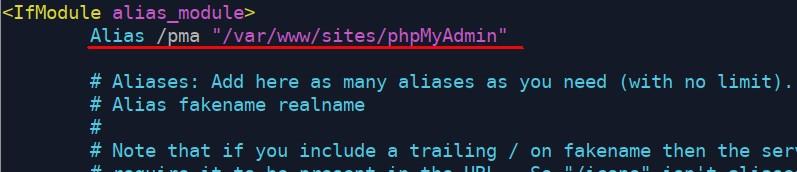
Reload Apache to apply the changes.
systemctl reload apache2Alias is set, so we can access phpMyAdmin here “http://[server’s_ip_address]/pma”.
3. Prepare the database
Since we restricted using root user during the initial configuration of MariaDB, we will have to create a new account with all permissions that will be used to access phpMyAdmin.
Besides, to enable additional features of phpMyAdmin we’ll need a service database and an account to access it.
Let’s create the accounts
mariadb -u root -pGRANT ALL PRIVILEGES ON *.* TO 'pma'@'localhost' IDENTIFIED BY 'Qwe123' WITH GRANT OPTION;GRANT SELECT, INSERT, UPDATE, DELETE ON `phpmyadmin`.* TO 'pmaservice'@'localhost' IDENTIFIED BY 'Qwe123' WITH grant option;quitPlease note that the database name in the second request is in back sparks “… ON `phpmyadmin`.* TO 'pma'@'localhost' IDENTIFIED BY …”,
In the result, there will be two accounts created in MariaDB:
- Login: pma, Password: Qwe123Full access, will be used to log in to phpMyAdmin
- Login: pmaservice, Password: Qwe123The service account is required for additional features to work
At the next step, we will set these details in the configuration file “config.inc.php”.
Then we’ll need to import the database from the file “phpMyAdmin/sql/create_tables.sql”.
Let’s import it with the help of phpMyAdmin.
Open the link “http://[server’s_ip_address]/pma”
Enter login “pma” and password “Qwe123”
Go to “Import”, click “Select file” and select the file ”sql/create_tables.sql” in the root directory of phpMyAdmin. There’s supposed to be the folder on your PC “phpMyAdmin” with files. Unarchive it if necessary.
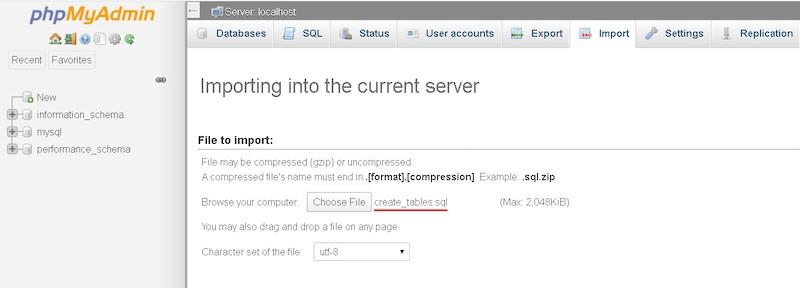
Click “Next” to start importing.
4. Configuration
Let’s copy the configuration file from the template
cd /var/www/sites/phpMyAdmin/

cp config.sample.inc.php config.inc.php
Let’s open the configuration file “/var/www/sites/phpMyAdmin/config.inc.php” and do the following changes:
Set a random 32-character value for the attribute “$cfg['blowfish_secret']”. Use any password generator for it..

Remove commenting from all the lines of the “phpMyAdmin configuration storage settings” section and set the login and password of MariaDB’s service account for the “controluser” and “controlpass” attributes accordingly. In our case, it’s pmaservice and Qwe123.
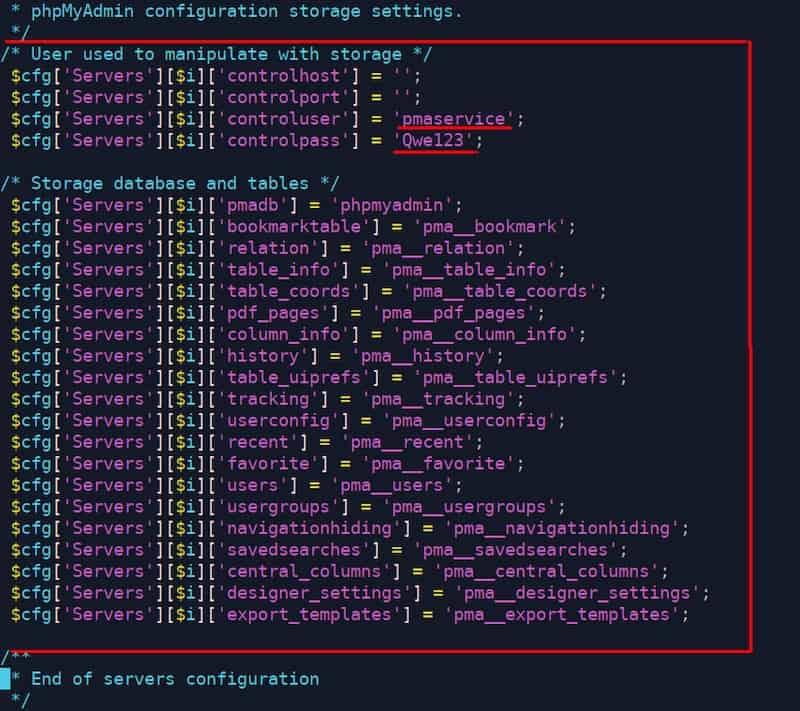
Save the changes.
Access details for phpMyadmin:
- http://[server’s_ip_address]/pma/
- Login: pma
- Password: Qwe123
How to install and configure WordPress on a Linux server
1. WordPress package and files placement
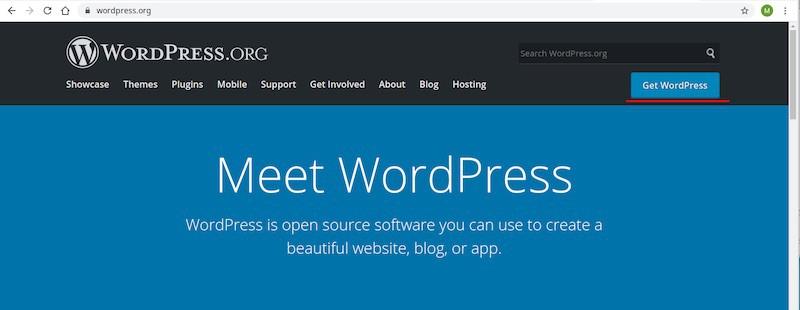
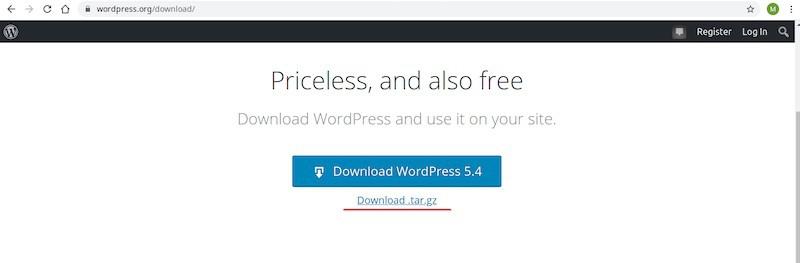
Go to the official WP website “https://ru.wordpress.org/” and download the archive to your local PC.
Upload the archive to the server into the “/var/www/sites/” folder and unarchive it to the “wordpress” folder.
Copy the contents of the “/var/www/sites/wordpress/” root folder of the “/var/www/sites/site1/” website.
Since we copied the files via the console with root permissions, let’s change the owner of the “/var/www/sites/” folder including the contents of “virtual”. This is required to enable full access for ftp connection via the client.
cd /var/www/sites/

tar -xzvf wordpress-5.4-ru_RU.tar.gz

cp -R wordpress/* site1/

chown -R virtual:root /var/www/sites
2. Create a database for WordPress
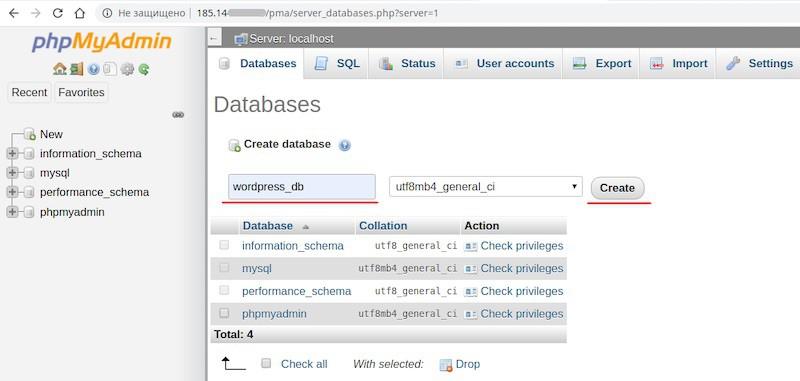
Log in to phpMyAdmin and click “Create database". Specify an arbitrary database name, in our case “wordpress_db” and click the “Create" button.
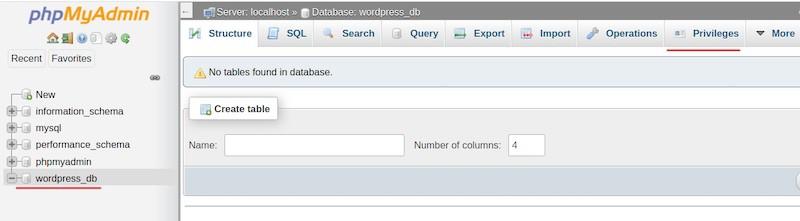
Select the new database in the left section and click “Privileges”
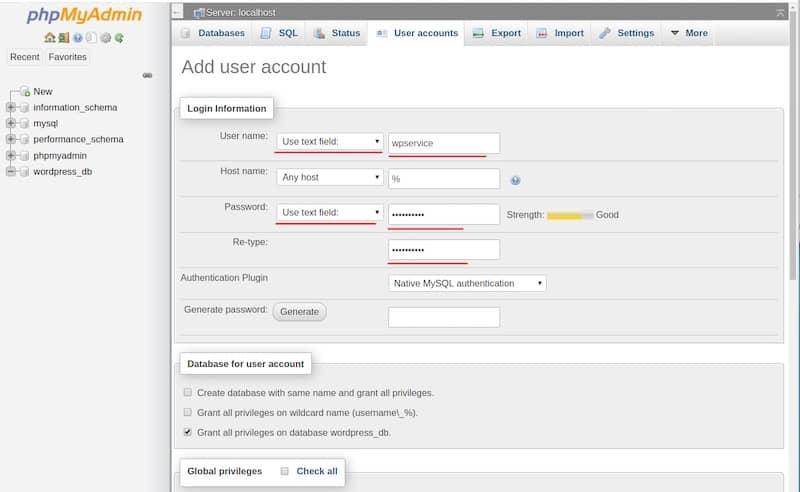
Then click “Add user account”.
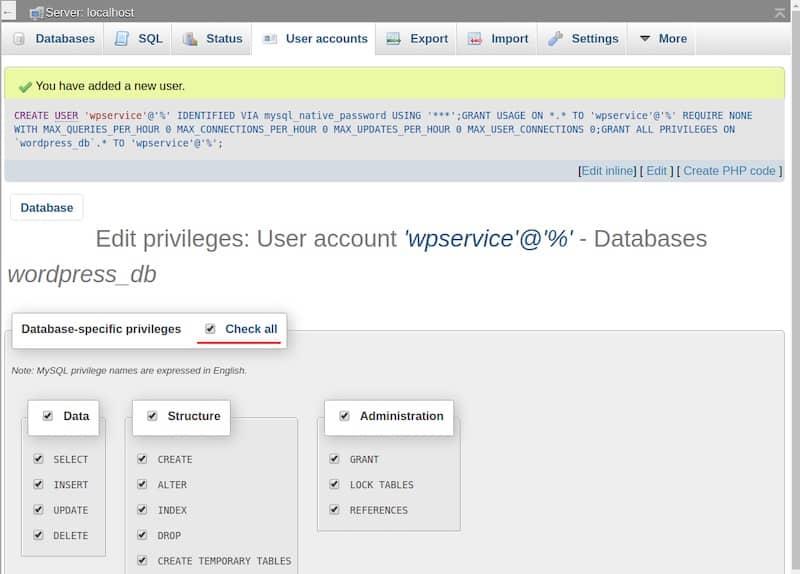
Enter the login and password (wpservice / Qwe123) in the opened window, check “Grant all privileges in the wordpress_db” and click “Next”
On the next page click “Cancel all” to reset all privileges on the database level and click “Next”.
3. WordPress configuration on a Linux server
Go to the root directory of your website and copy the configuration file from the template
cd /var/www/sites/site1/
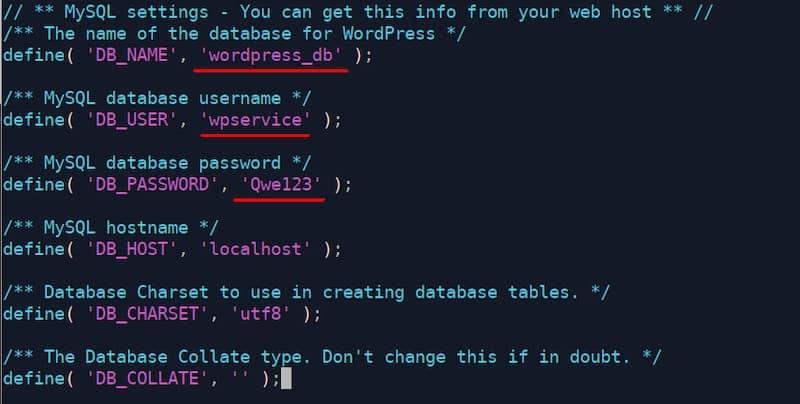
cp wp-config-sample.php wp-config.phpOpen the “wp-config.php” file and enter the database connection parameters that we created at the previous step and save the changes.
4. Install CMS WordPress
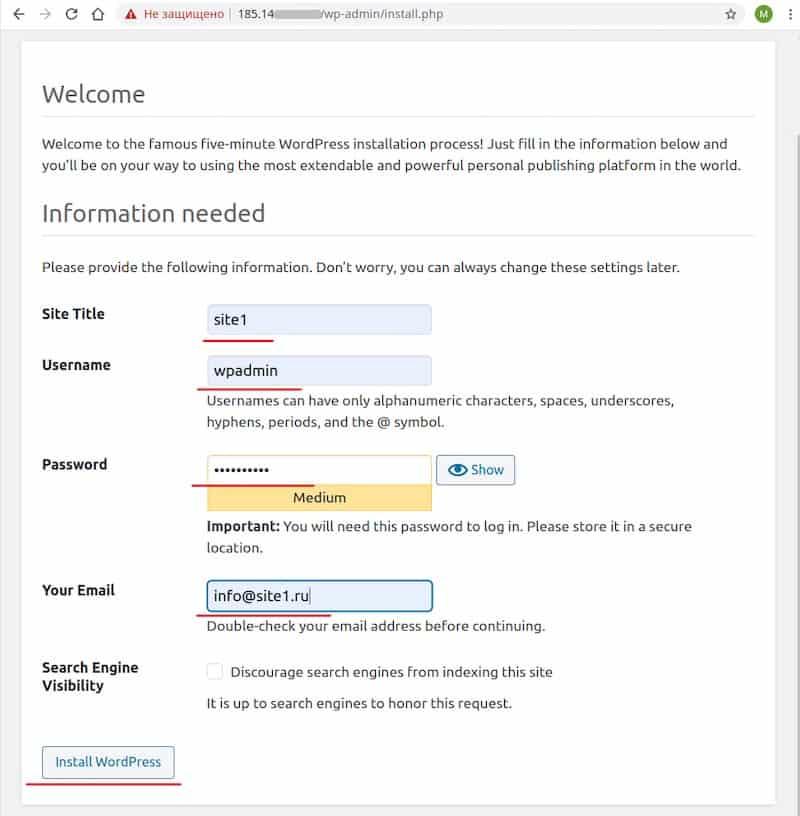
Open the following link in the browser “http://[server’s_ip_address]/wp-admin/install.php”.
Fill all the fields and click “Install WordPress”. Set a random username and password. In our case, it’s wpadmin and Qwe123 accordingly.
These details will be used to access WordPress.
After you finish the installation, open the link “http://[server’s_ip_address]/wp-login.php”, enter the access details, and log in to WordPress.
You should see one of the WordPress templates on the main page.
The configuration is finished.
WordPress access details:
- http://[server’s_ip_address]/wp-login.php
- Login: wpadmin
- Password: Qwe123