Sometimes, it is necessary to hear the remote server. When it comes to a remote, and even more, a virtual server, the simplest solution is to transmit audio via an RDP session and reproduce it on the client computer (i.e., the one from which you connect). However, the use of such audio transmission is strongly recommended only for service purposes, since the sound quality and speed of its transmission are not suitable, for example, for watching movies or playing music.
Sound setting is performed in two stages:
- Enabling the audio service on the server
- RDP client configuration on your computer
Enabling the audio service on the server
The Windows Server operating system template operates with the audio service disabled by default. To enable it, you may use the following methods - enable it via the graphical interface or the command prompt.
Via the graphical interface
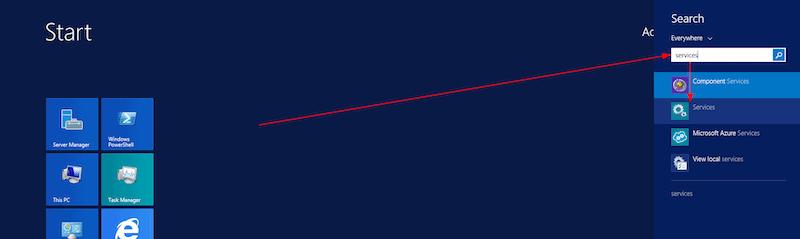
1. Go to the Services toolbar. To do this, click the "Start" button, start typing “services” in the search bar, then click servicesin the result window.
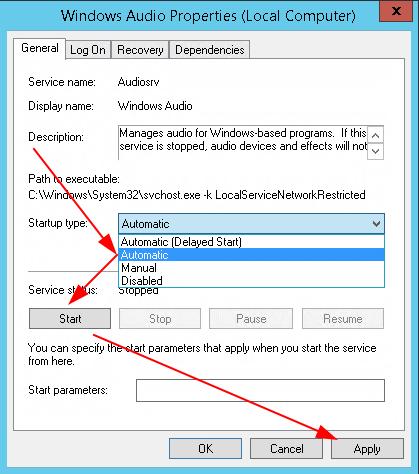
2. In the services list, find the "Windows Audio" service, double-click or right-click for entering “Properties”
3. Select the “Automatic” startup type and click “Run”, then “Apply”
Setting the sount via the command prompt
- Open the command prompt
- Type
sc config audiosrv start=autoand press ENTER - Type
sc start audiosrvpress ENTER
After the service is enabled, finish your remote session by clicking “Start” - “Administrator” - “Log out” and configure your RDP client.

Attention: it is necessary to finish the remote session, in order for the user profile to be loaded again during the next connection, otherwise the audio device will not be added.
Setting up the RDP client for audio transmission
Setting up a standard Microsoft RDP client
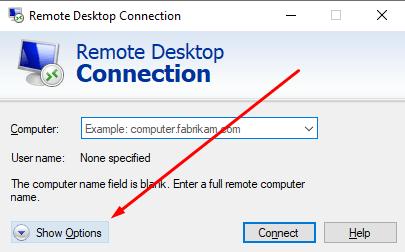
1. Open the Remote Desktop Connection app
2. Click “Show Settings”
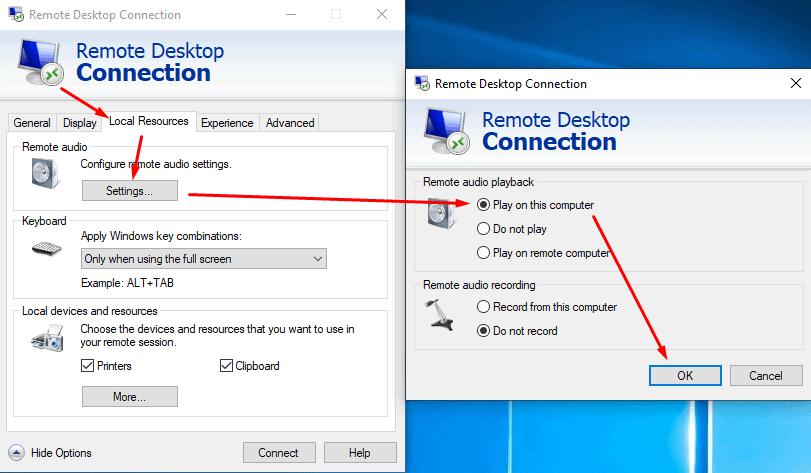
3. Enter the “Local Resources” tab, click “Settings” in the Remote Desktop Sound gap. In the appeared window, select Play on this computer” and click ”Ok”
Setting up Remmina
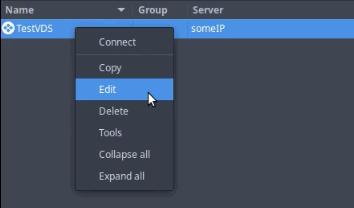
1. In order for the audio to be transmitted to Remmina, right-click on ”connection” and go to “Edit”
2. Go to the “More” tab and set the “Sound” parameter to “Local-medium quality” and click “Save”
After that, the remote server sound will be transmitted via Remmina