When upgrading to a higher tariff, all parameters of the virtual server change automatically, including an increase in hard disk size. However, the operating system continues to work with the partition size that was specified during the initial installation.
Expanding the partition to the full new volume can be done in two ways. Either simply run the OS reinstallation through the control panel or perform a series of simple operations:
So, we observe a mismatch. Operations with the mounted root FS are impossible, so all actions will be carried out after booting from the RESCUE disk.
First, the server needs to be shut down by executing the command:
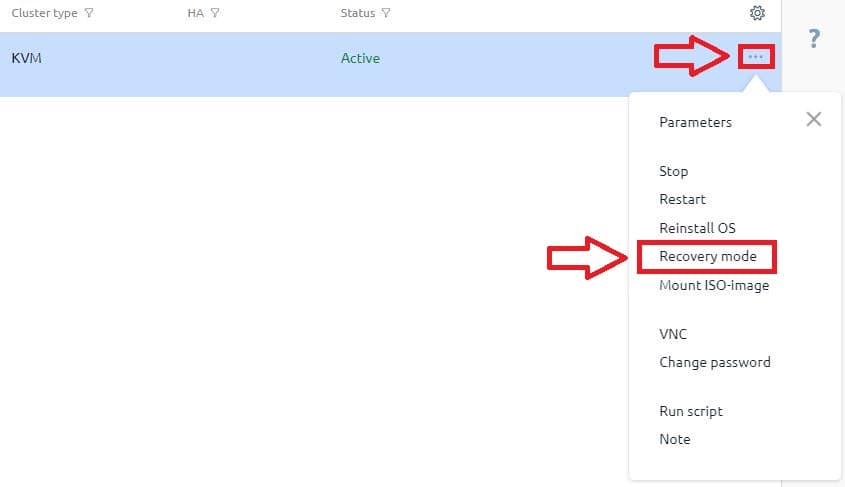
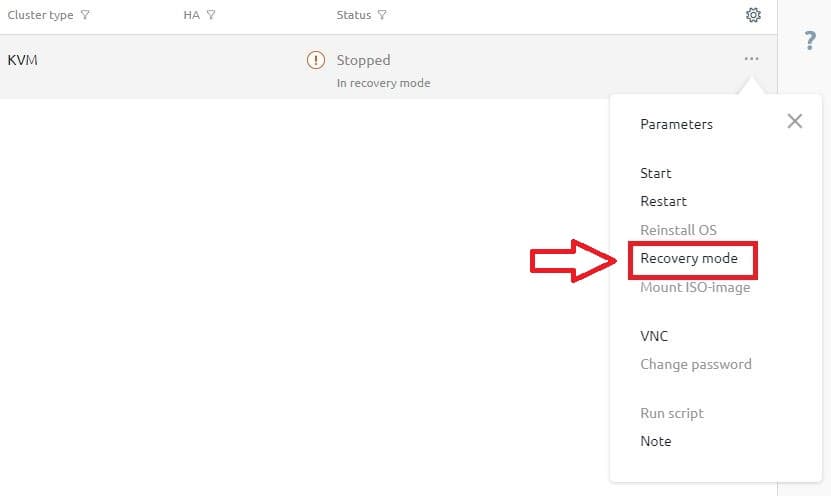
poweroff1. In the control panel, select the required VM and activate the recovery mode on the right in the functions:

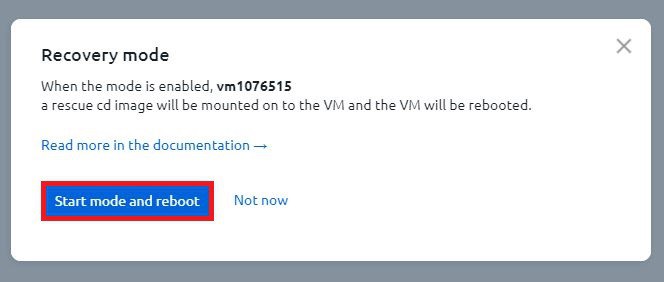
2. Then you need to agree to start and perform a reboot:
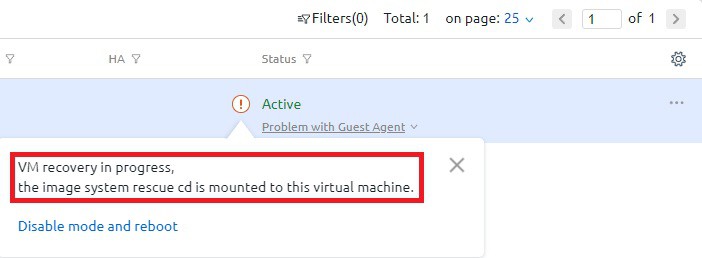
3. After which, the virtual machine will reboot and report that it has entered recovery mode:
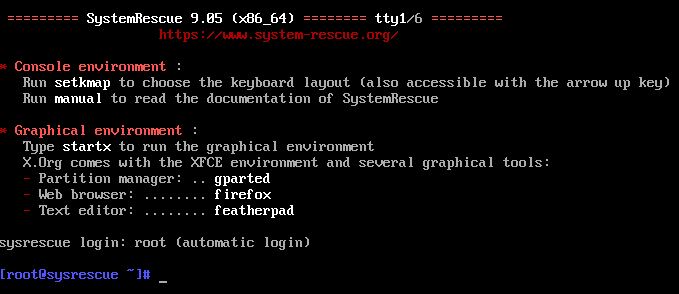
4. Go to the VNC console, where the following window will appear:
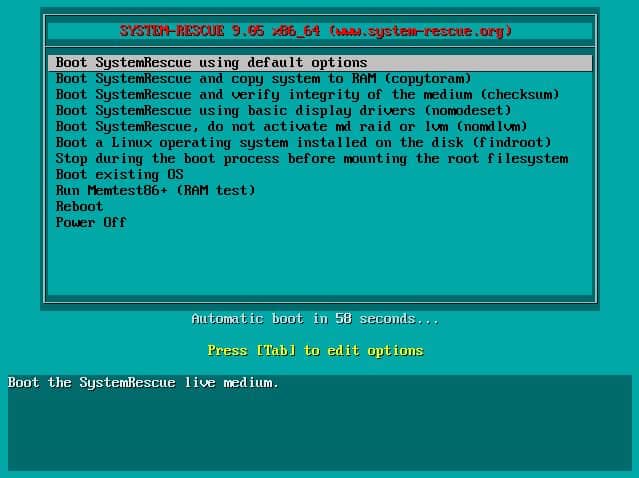
5. At this stage, you need to press ENTER and wait for the loading. On the screenshot http://www.system-rescue-cd.org/:
6. We move to the main part.lsblk - to show block devices. The section we need is /dev/vda2e2fsck -f /dev/vda2 - to check the disk for errors before making changes.resize2fs /dev/vda2 - to increase the FS size to the maximum possible.poweroff - to turn off the server.
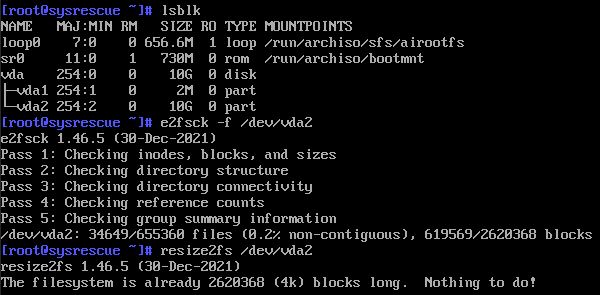
7. In our case, the system reports that an increase in size is not required. All free space
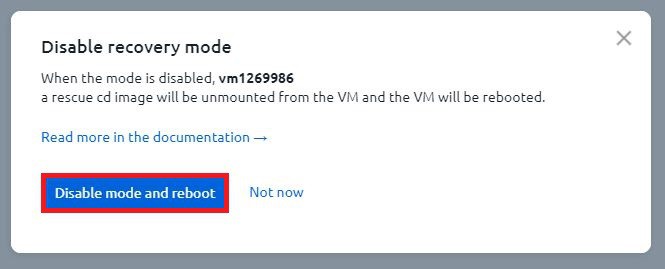
already belongs to the partition. Next, you need to reactivate recovery mode:
8. And confirm the shutdown and reboot:
9. After which, the virtual machine will reboot and start from the working image. We check the change in the disk partition:

All is well. The partition uses the entire available memory volume.