In this guide, we will explain in detail how to register in ProfitServer billing, order a virtual server, select additional options, and make a payment.
Registration in ProfitServer Billing
You can navigate to the billing panel from the main site or via the link https://psw.profitserver.pro
If you are not registered, you will need to go through the registration process. It takes less than a minute. Be sure to specify a valid email address. You will receive an email with access data to your server. Set a strong password — it's very important. By the way, you can generate a password automatically by clicking on the "dice" icon.
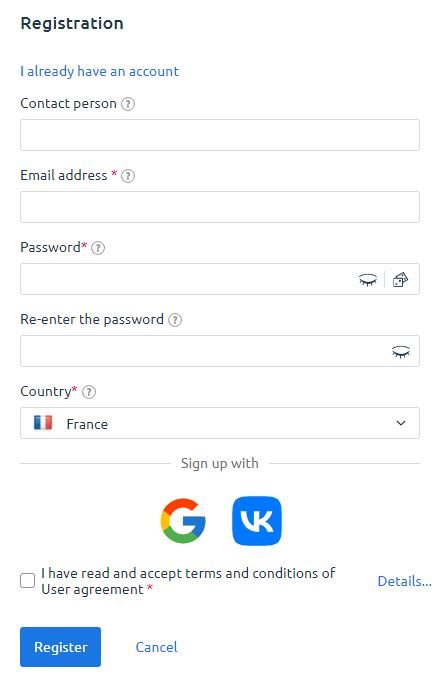
You can also register through popular social networks.
How to Order a Virtual Server
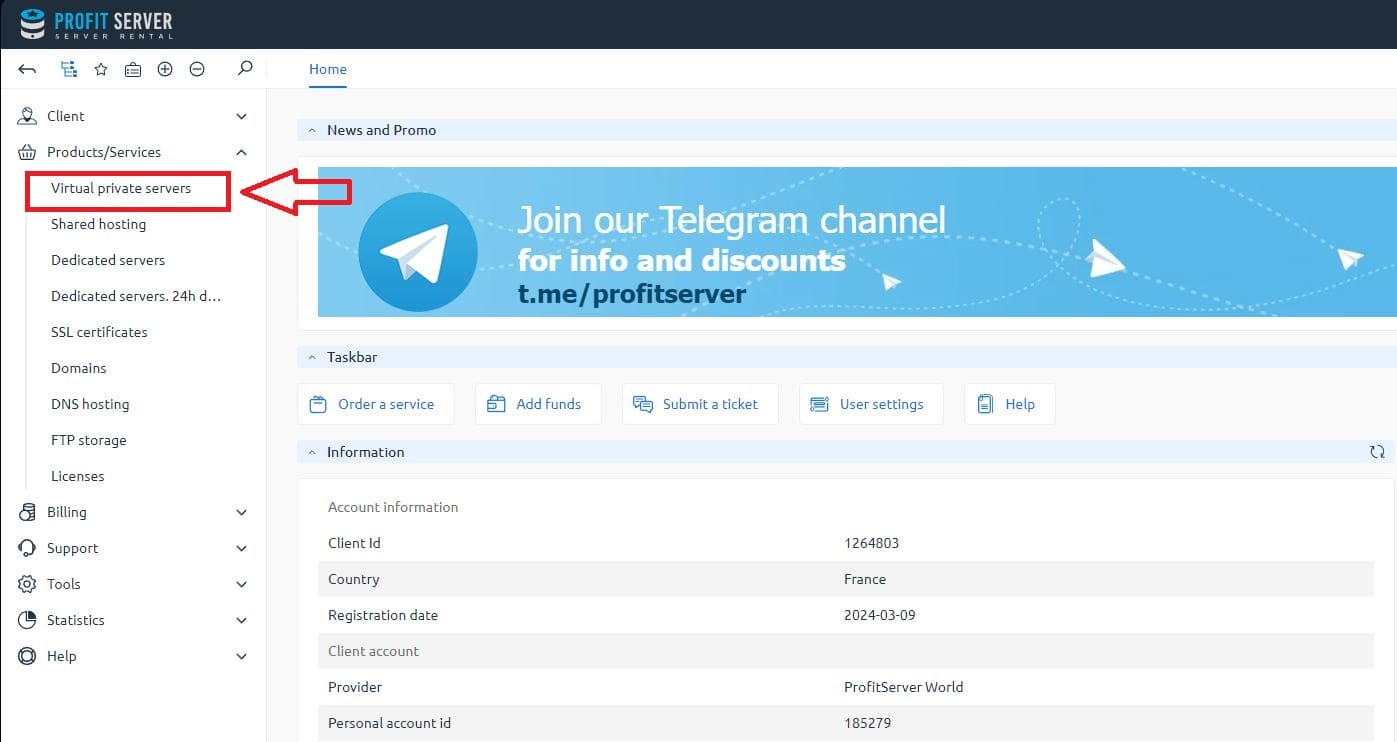
After successful registration, you will enter the billing panel. Here you can see information about your account: active services, balance, support requests, and more. To order a virtual server, go to the corresponding tab:
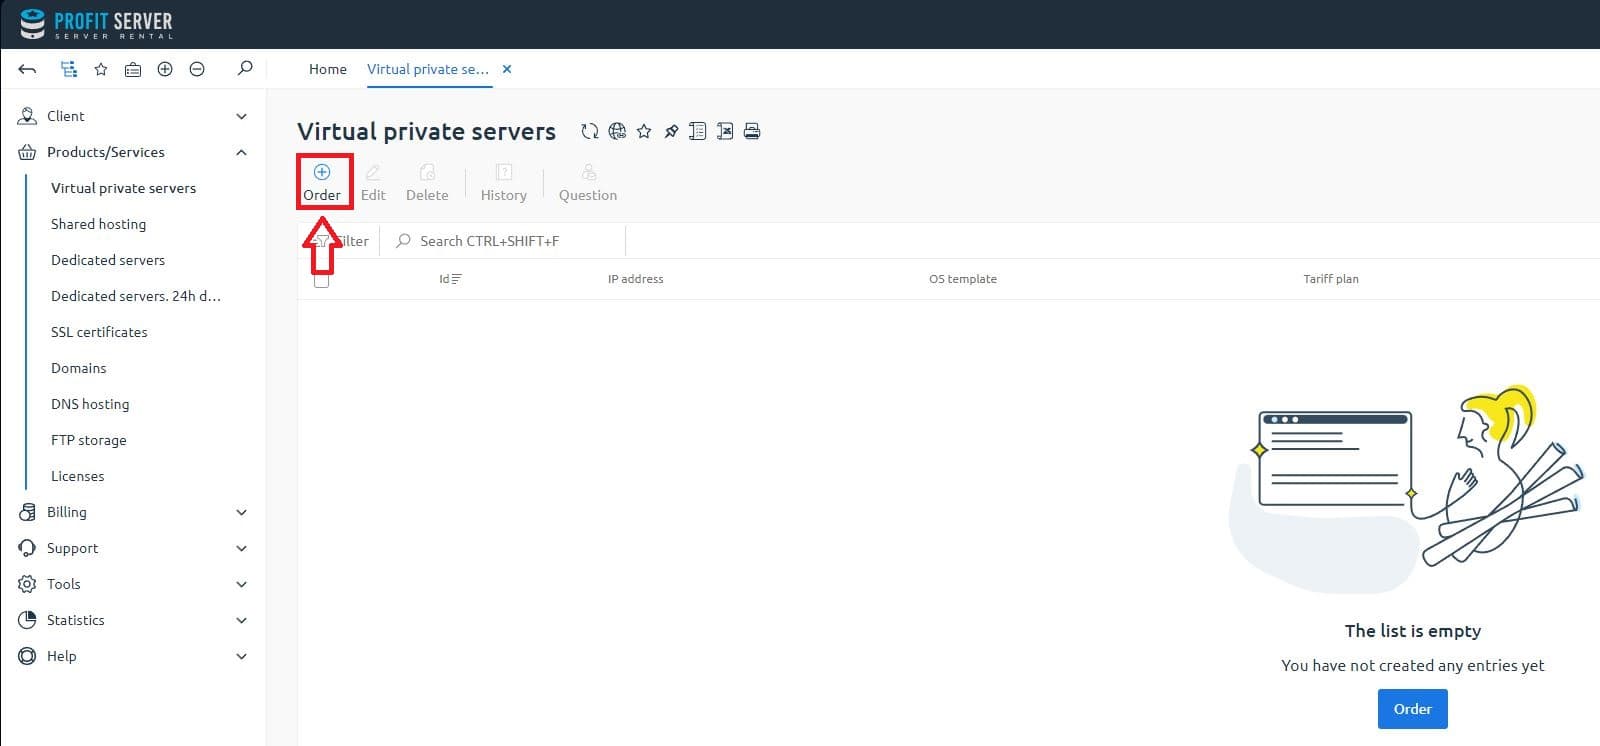
In this section, all virtual servers will be displayed. Since you don't have any servers yet, you need to press the "Order" button:
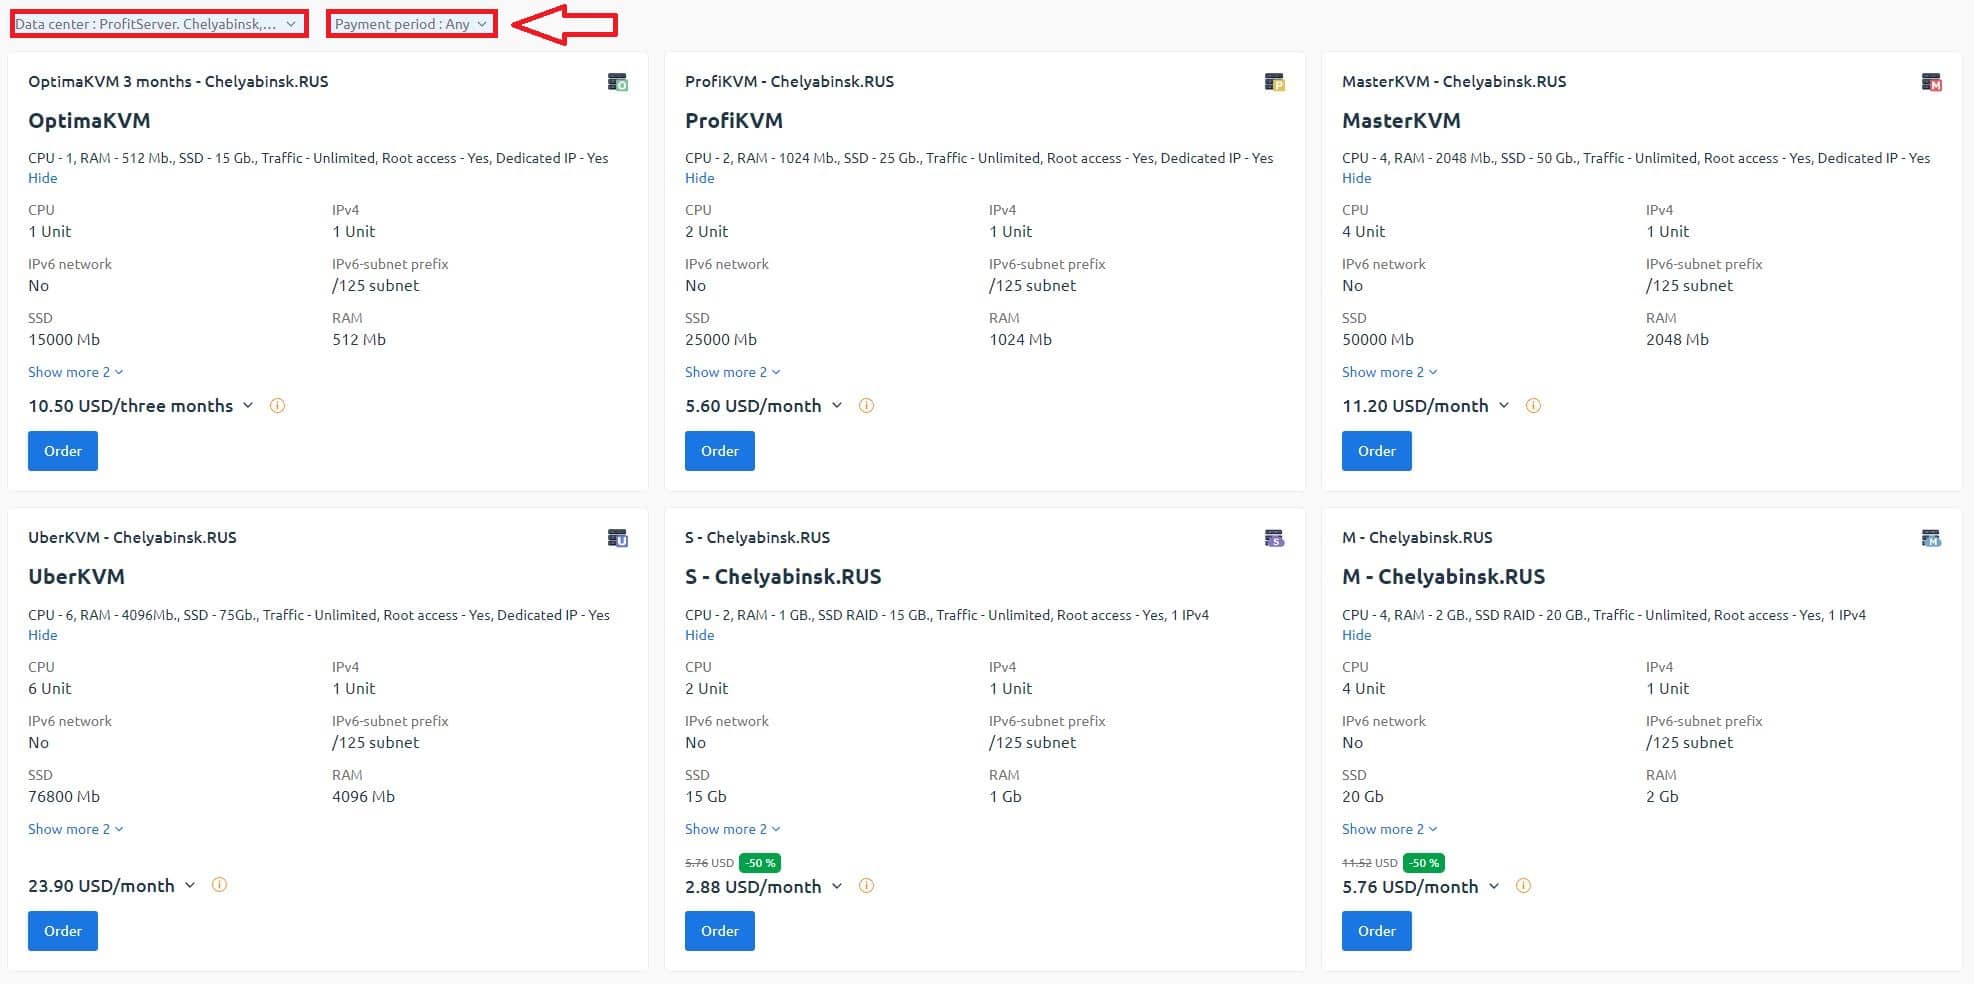
You will land on the first step of the virtual server order page. Here you need to choose the necessary tariff. Please note that some tariffs have limitations, all described in the list of tariffs and on the site. If you need the ability to change the resource parameters "on the fly" either up or down, then you should order a Cloud family tariff.
Also, at this step, you need to choose the Data Center where you plan to place and the payment period. When ordering for a longer period, the system automatically calculates the tariff price with a discount. For example, ordering a server for a year will give you a 15% discount.
After you have decided on the tariff and period, click the "Order" button:
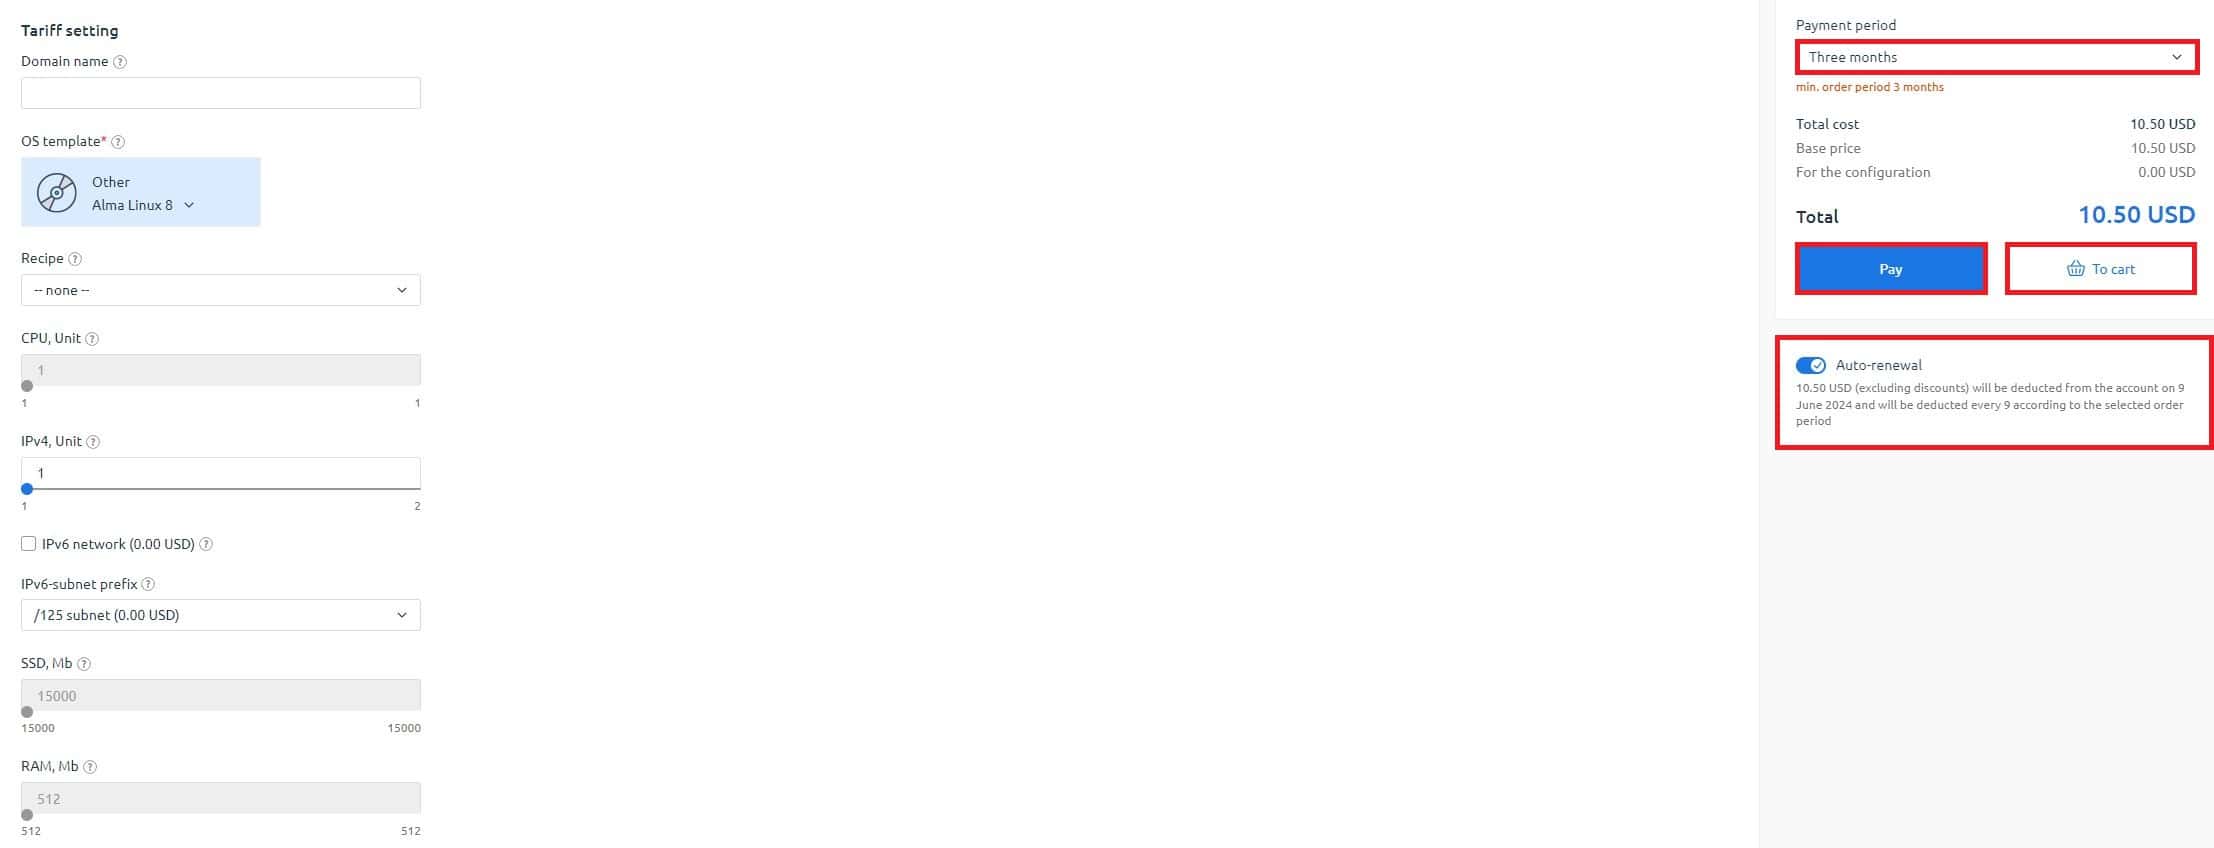
You will move to the second step of ordering a virtual server, where you will need to choose the machine's parameters. Let's describe them in order:
- Auto renewal a function that allows automatic extension of the server rental if you have the necessary amount on your account balance. You can choose the period of automatic renewal.
- Domain name — the domain that will be linked to the server (can be changed at any time).
- Operating system — choose a ready template of one of the popular OSes that will be automatically installed on the server.
- Pre-installed software — a set of scripts and programs that can be installed along with the OS by choice. If you need a clean OS, leave this field empty.
- Number of processors, memory, disk, and IP addresses — these are parameters that can be added to the server. Resources can only be added on Master and Uber tariffs.
- Name servers needed to link the domain name to your server. Choose which NS records you will use. If you do not have them, you can rent from ProfitServer.
After you have specified all parameters of the future server, check them again and if everything is correct, then press the "Pay" or "Add to Cart" button.
On the next stage, you can enter a promo code to get a bonus or discount. We strongly recommend subscribing to our Telegram channel https://t.me/profitserver to stay informed about all promotions and get early access to them. All announcements and promo codes are published there.
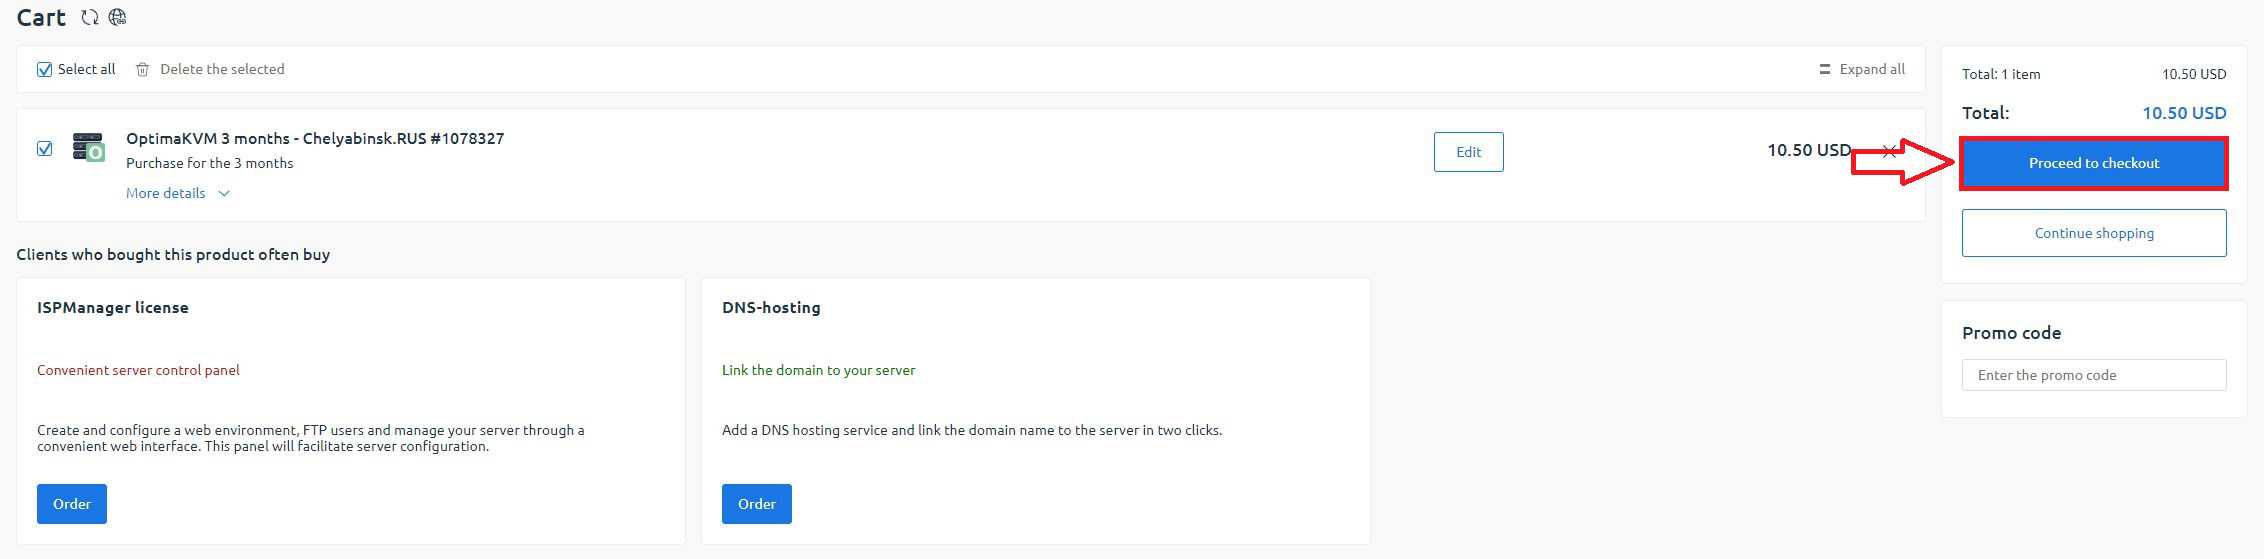
When moving to the cart, then press the "Proceed to checkout" button:
Payment of the Virtual Server
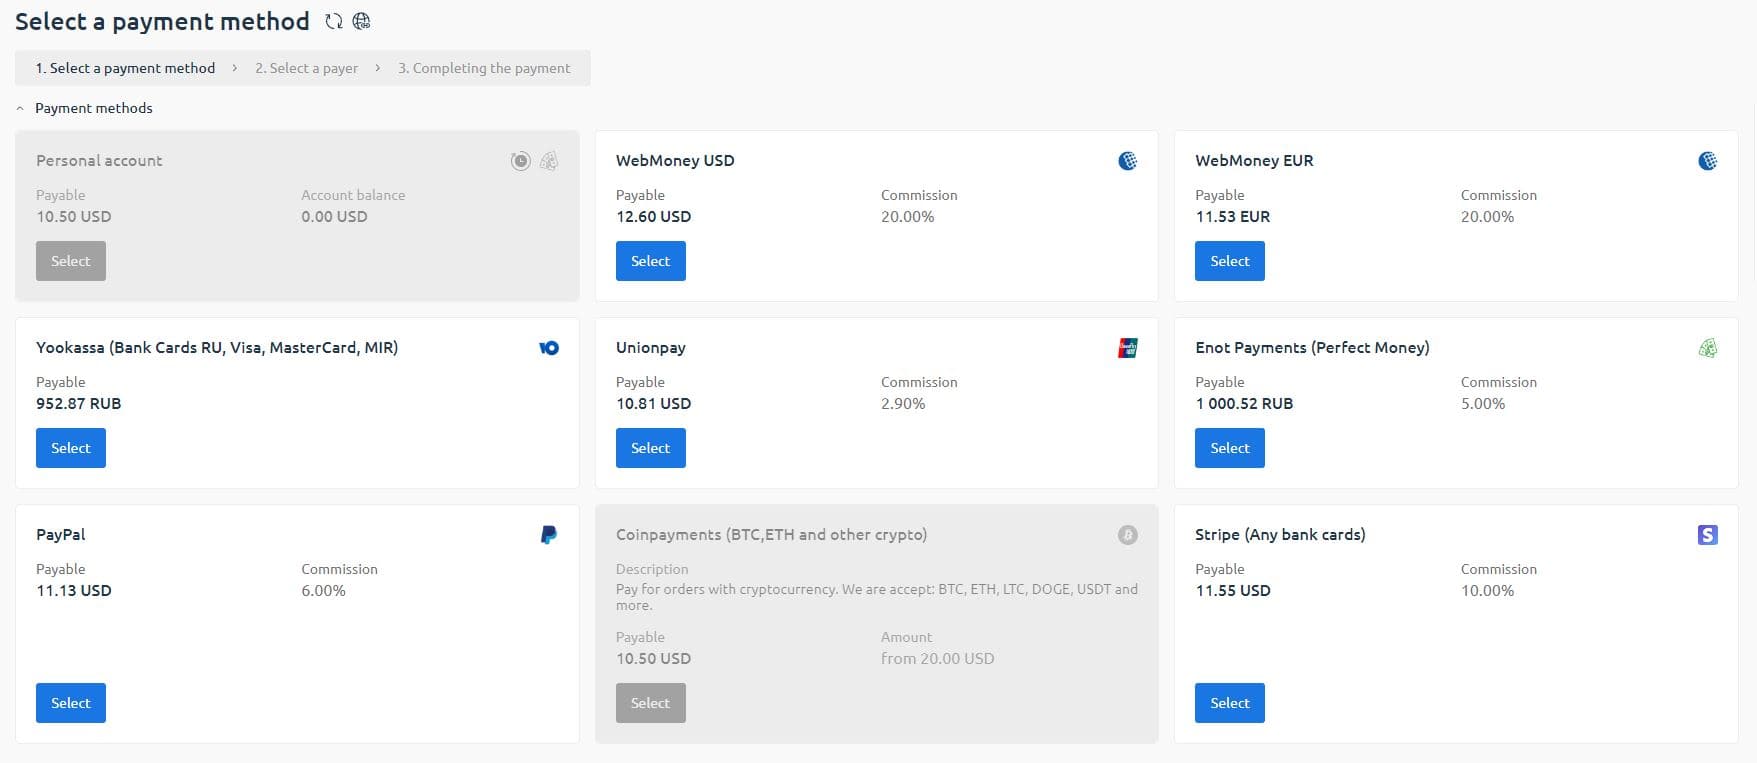
On the next step, you will be offered to choose a convenient payment method. Currently, ProfitServer accepts all popular payment methods, you just need to choose the suitable one and click the "Select" button:
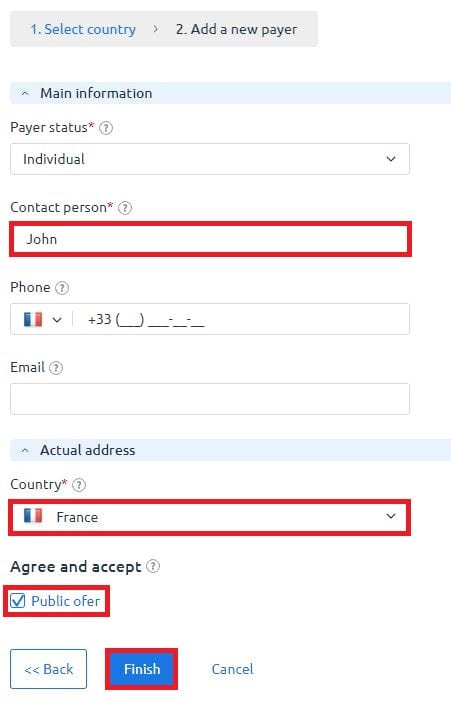
If you are paying for the first time, you will need to create a payer. Choosing an individual will take just a few seconds. If you choose a legal entity, you will need to provide details.
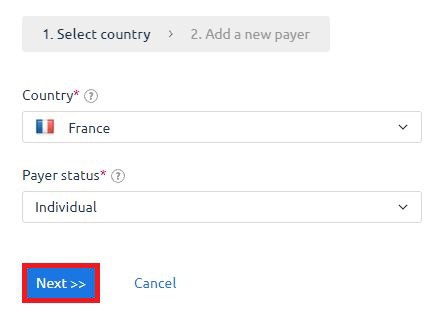
Specify the name, country, and agreement with the contract.
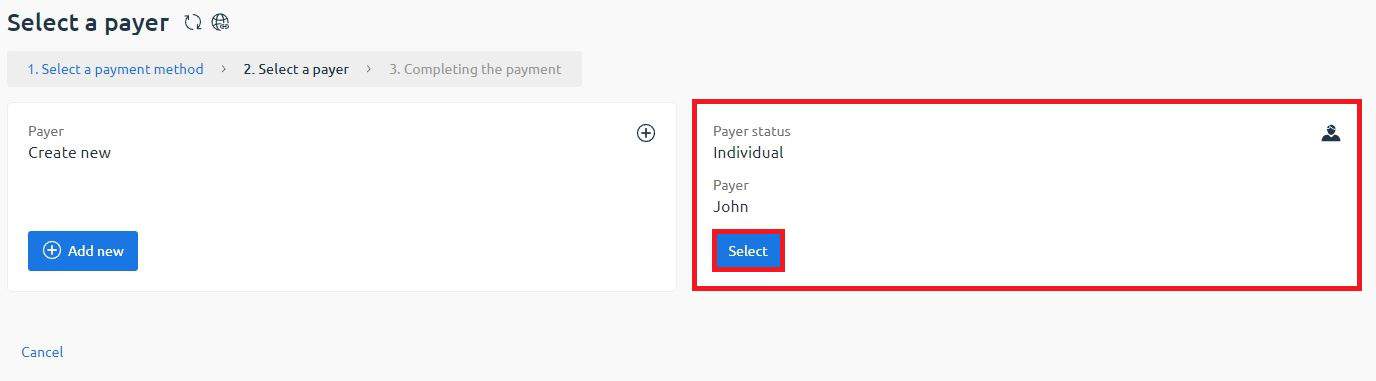
Then you will see the last window before the payment page. After selecting the payer and clicking on the "Place order" button, you will be redirected to the page of the chosen payment system.

Server Access Data
Immediately after payment, the server installation will begin. If you chose a Linux family OS, it would take 2-5 minutes. If the choice was made for a Windows OS, it would take more time (depending on the server power), usually about 10-15 minutes.
After the server is created, an automatic email with access data will be sent. Also, you can always access the control panel and the server itself through the personal account in the billing panel.